Watch lead editor Petro take a real S-Log3 clip from a Sony FX3 and correct it in DaVinci Resolve, step by step. The process moves through nodes, a Color Space Transform to take log to Rec.709, noise reduction, white balance and exposure, a hand-built vignette, and tracked masks that rein in overexposed skin. A clear look at a clean, repeatable correction pass, the groundwork before any stylized grade goes on top. Best for editors firming up their fundamentals.
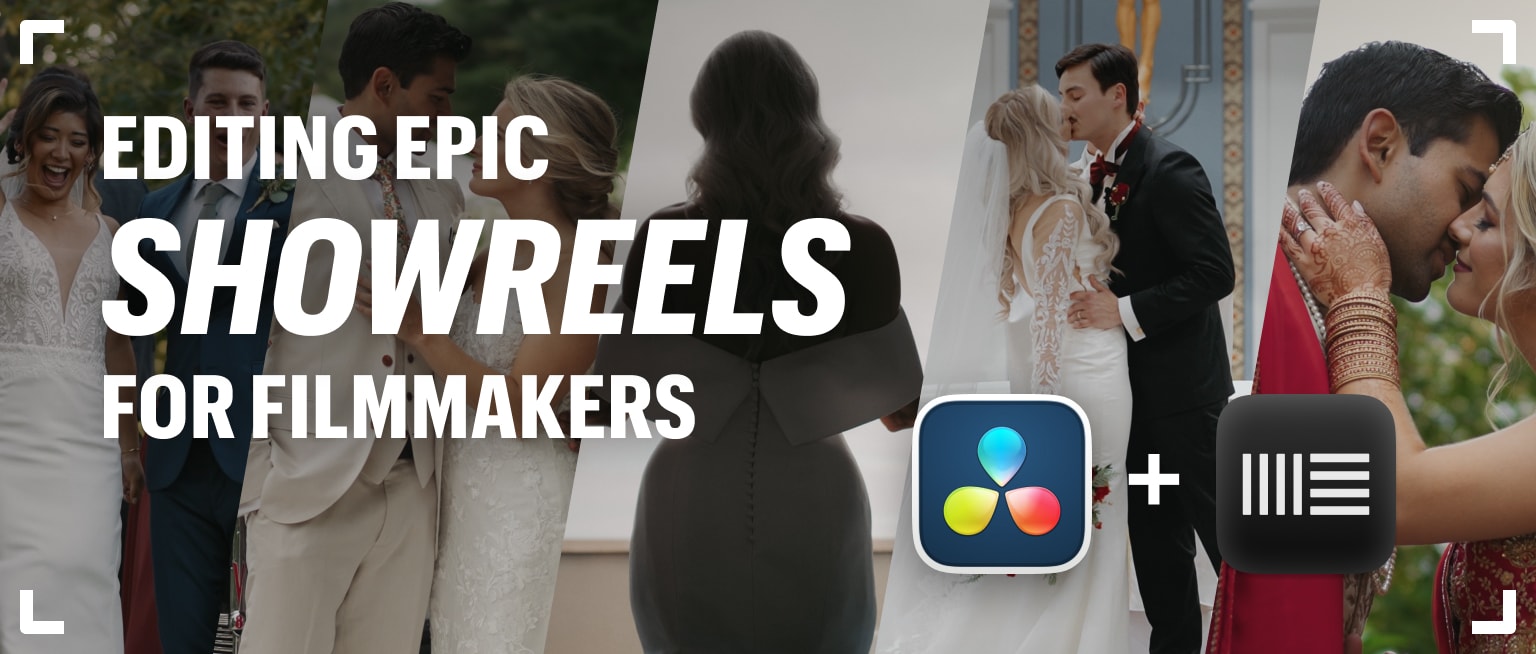
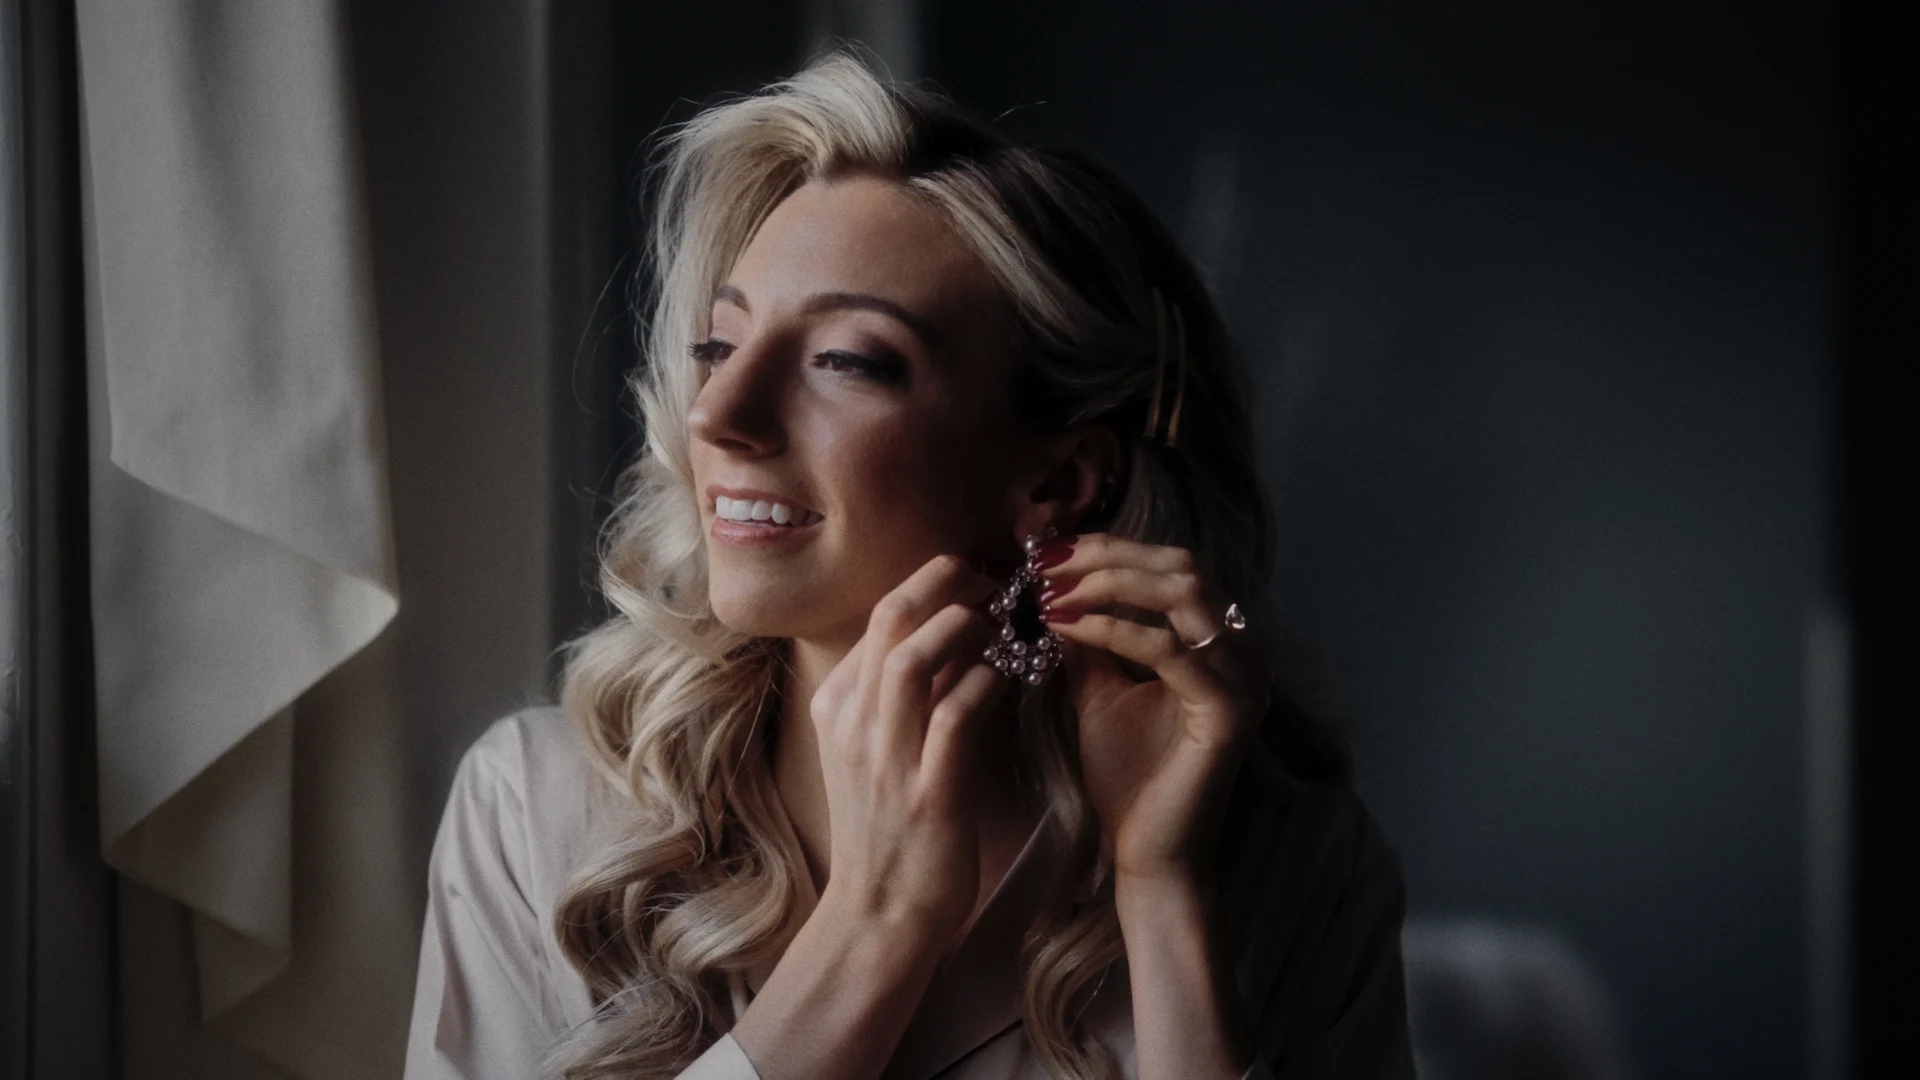
Recently, we talked about what LUTs are and what to use them for, and we shared the most beautiful options to create lively, bright, and cinematic wedding films.
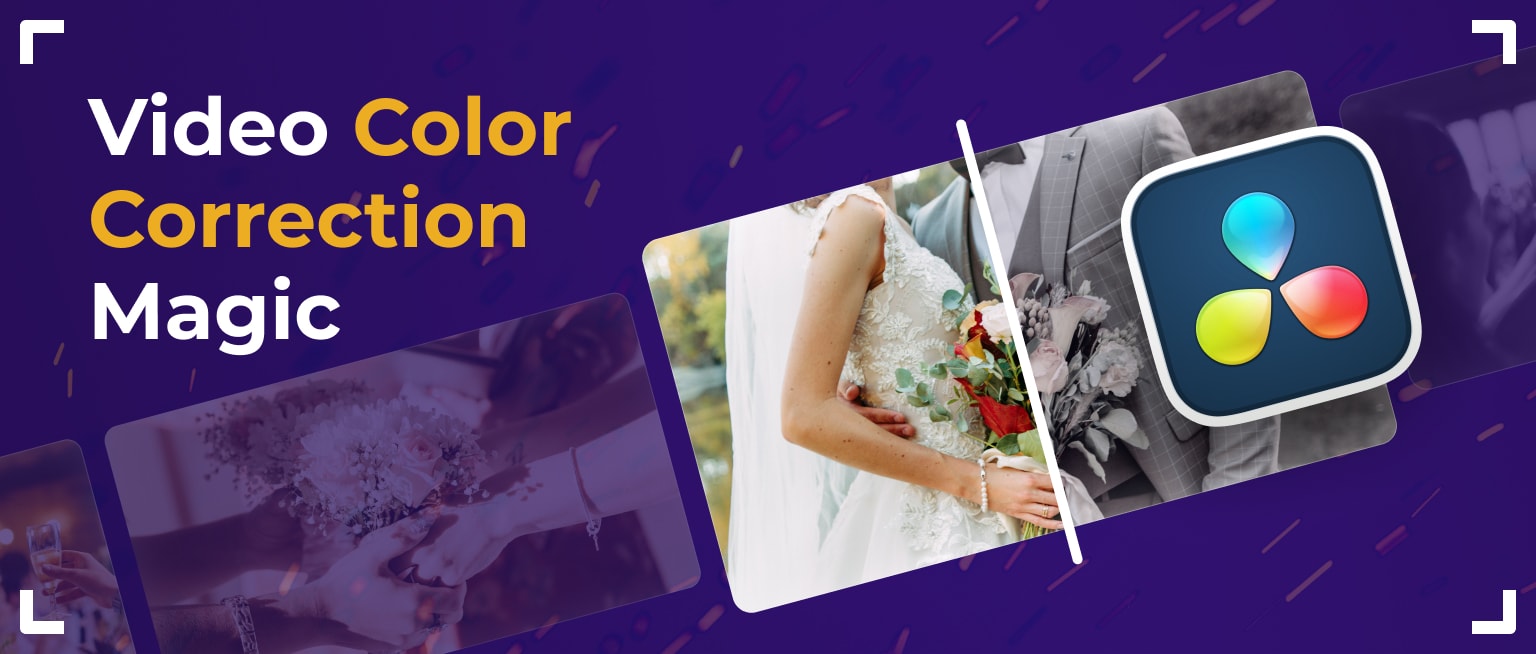
Today, we decided to lift the veil of secrecy and show you some of our color correction magic. Namely, we’ll take a closer look at several color correction techniques in DaVinci Resolve from our lead editor, Petro. It will be interesting!
Where does color correction begin?
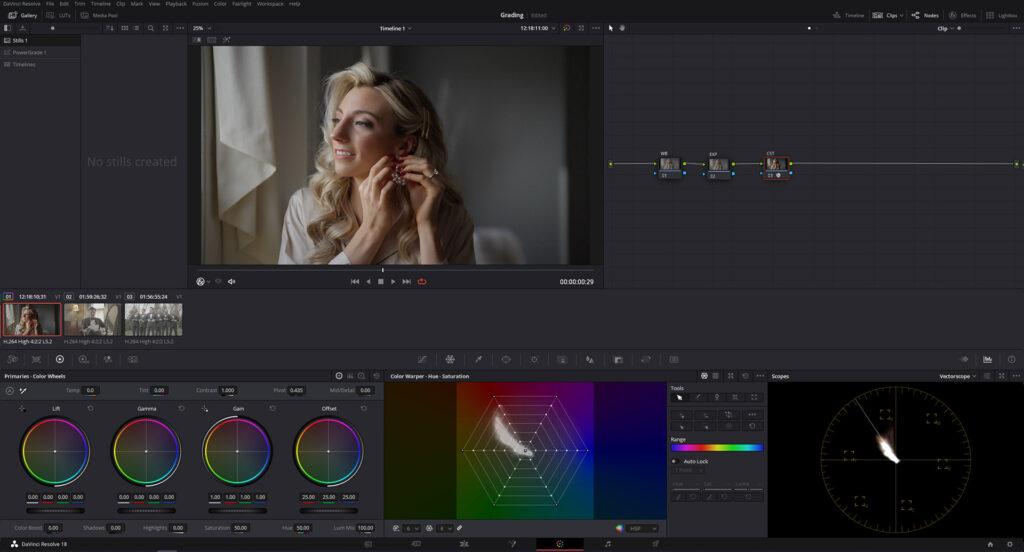
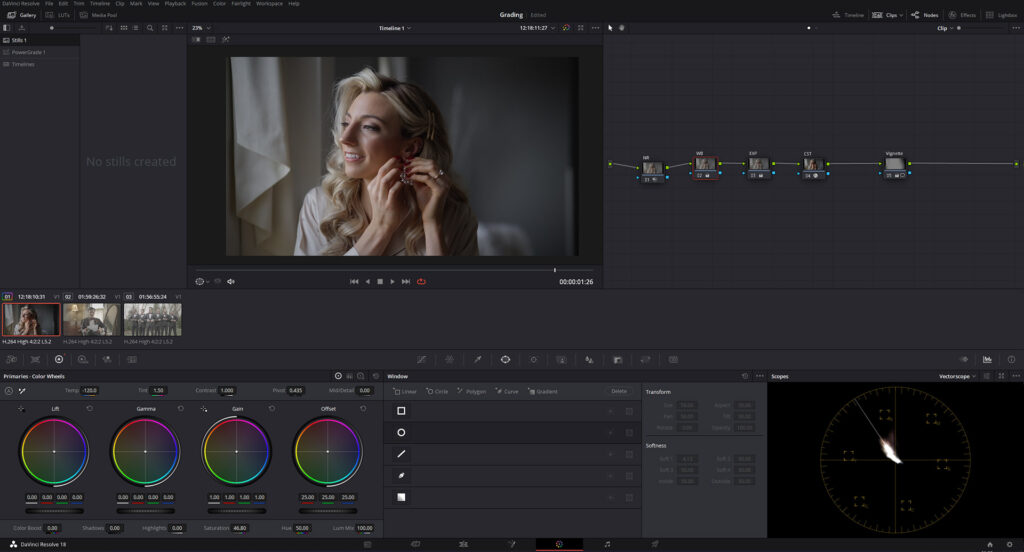
The process of color correction in DaVinci begins with the creation of nodes. A node is like an adjustment layer in Premiere Pro or Final Cut, but with more flexible settings. The number of nodes can be infinite, and they can be arranged in series or in parallel. It is possible to perform the color correction process in one node, but for more flexible use, we prefer to make no more than 1–2 actions in one node to better structure the work process.
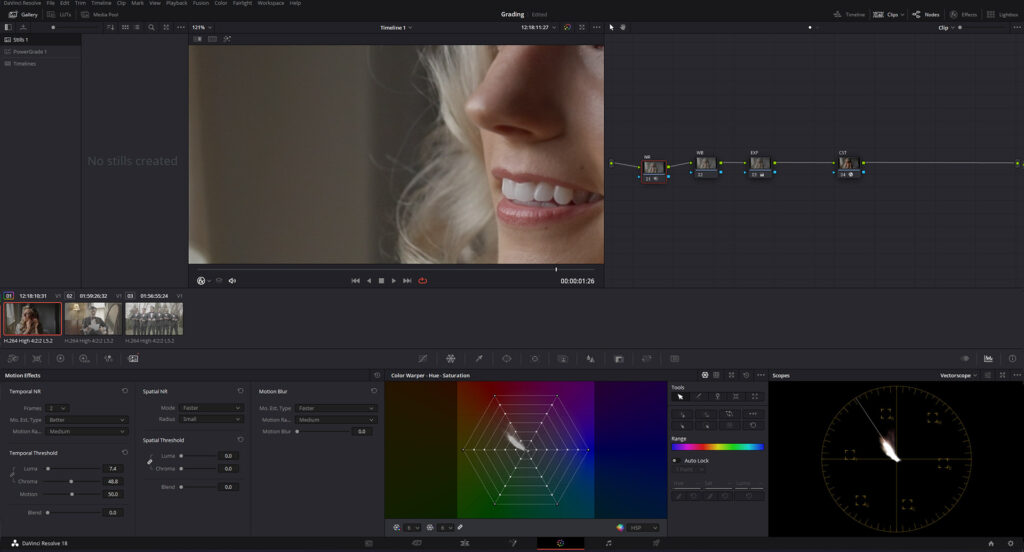
To perform basic color correction, we will create three nodes (Image 1). We will name them White Balance (WB), Exposure (EXP), and Color Space Transform (CST).
Here’s how we create an amazing cinematic effect
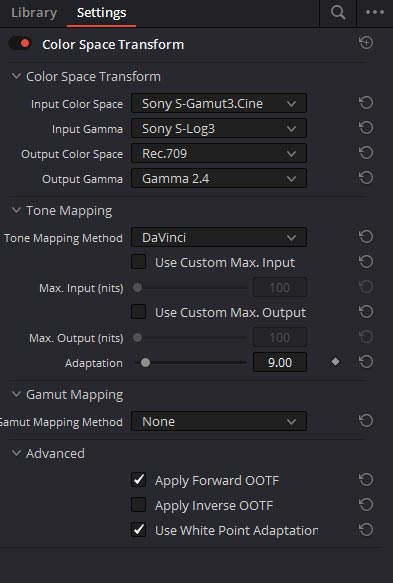
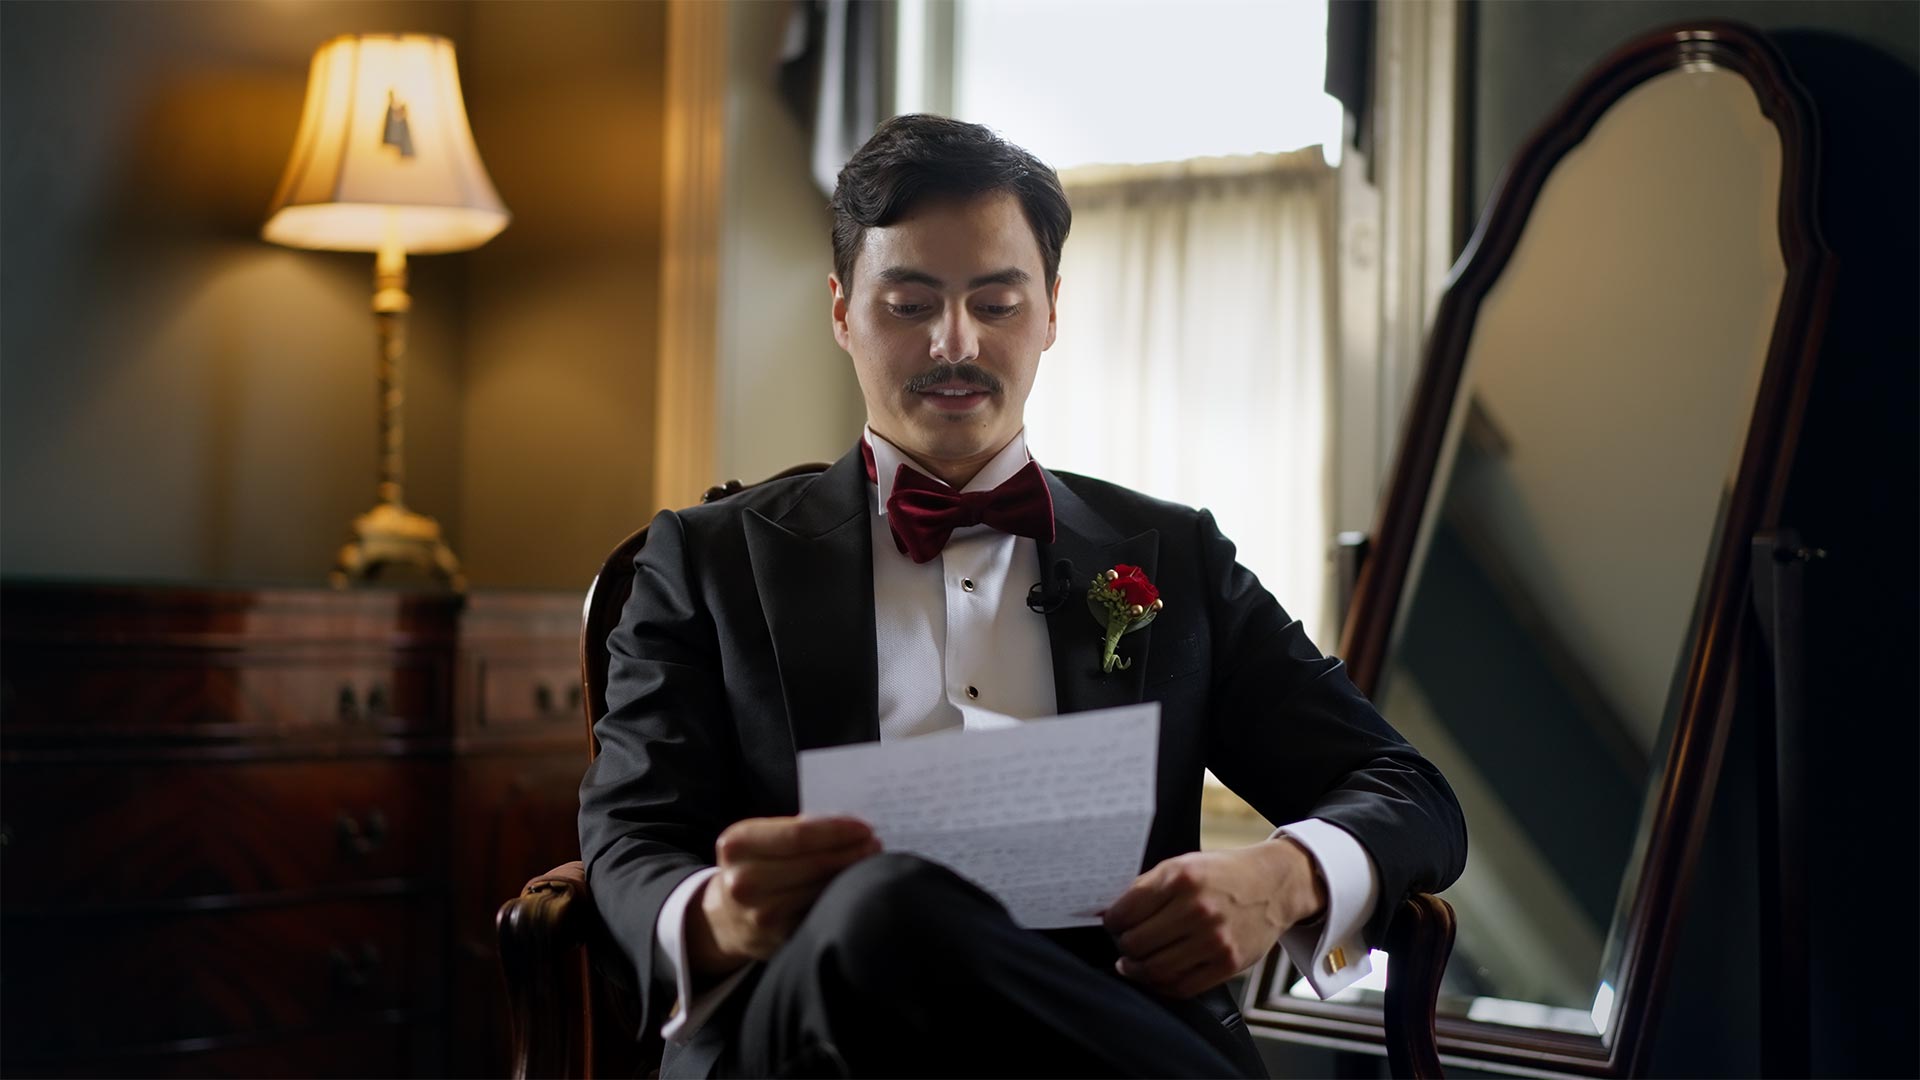
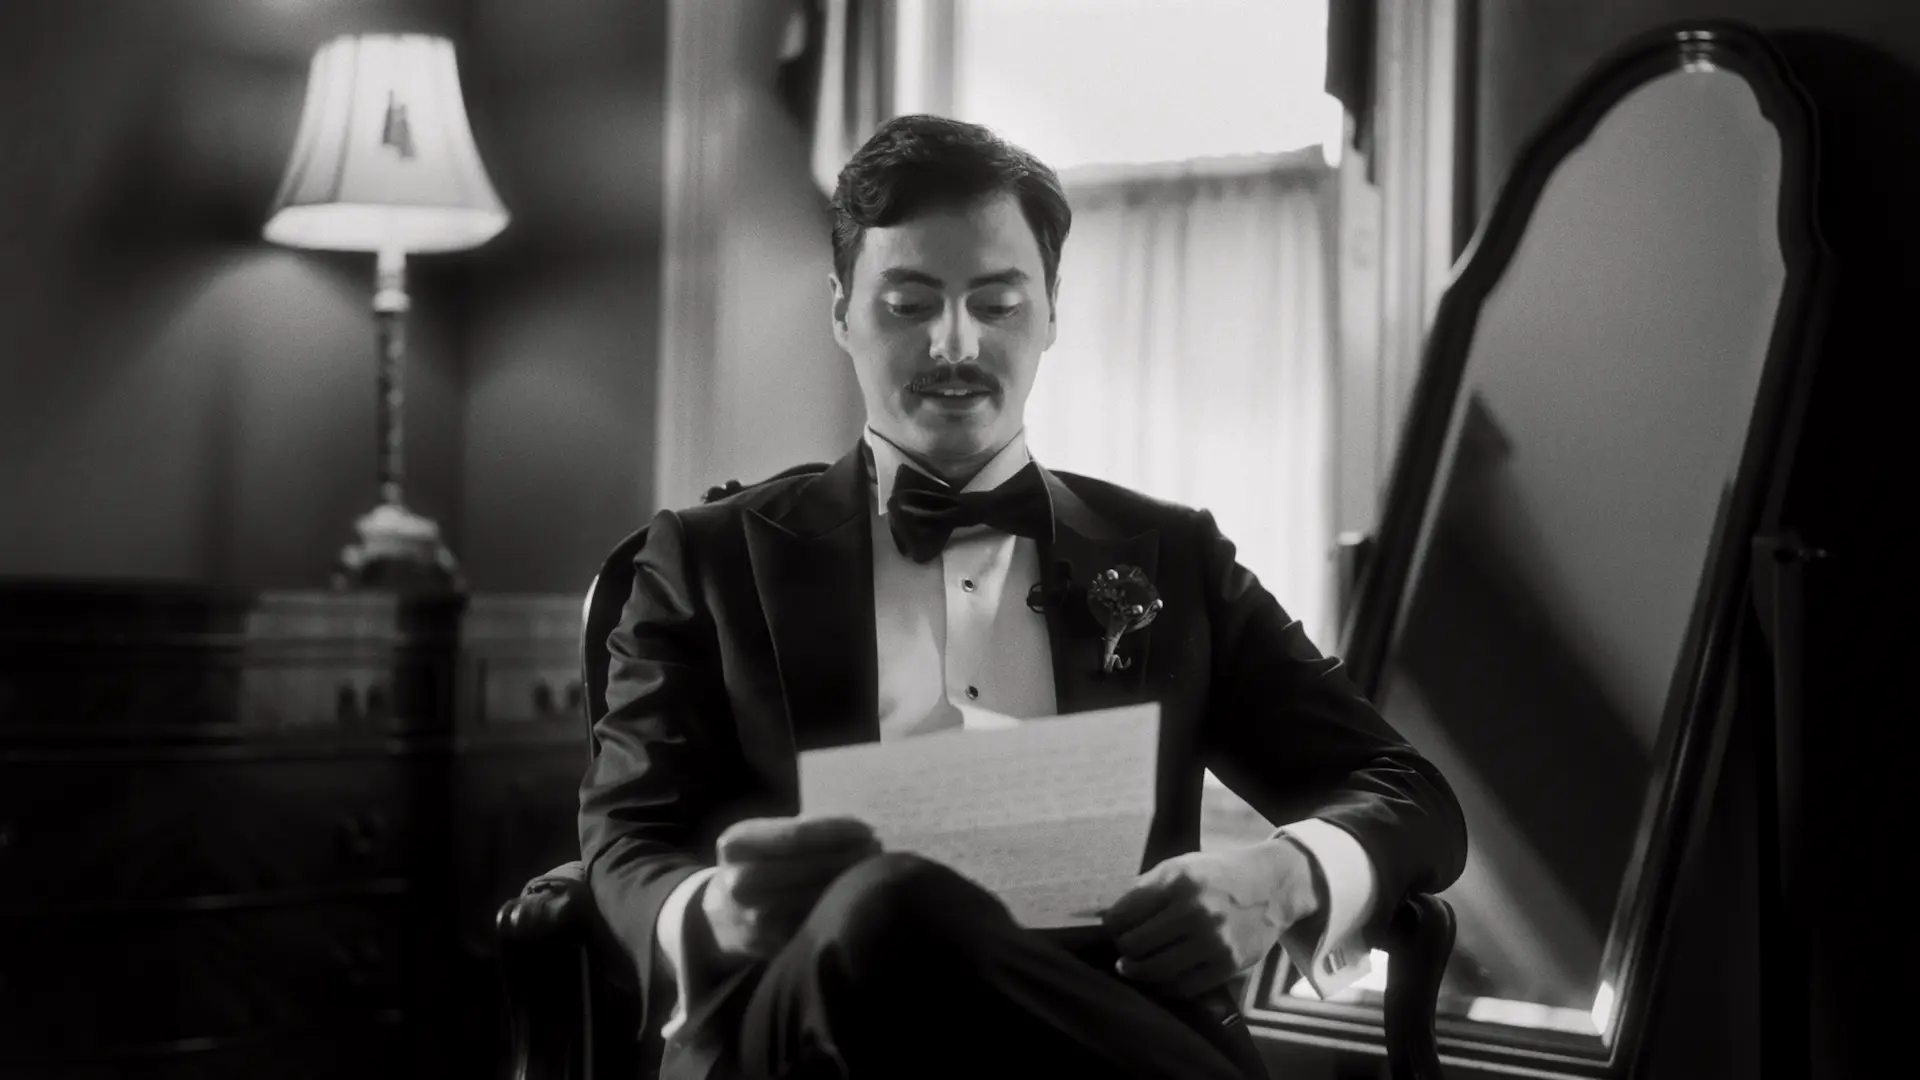
As an example, we’ll use a shot from the footage our client Chris Hiltz took on a Sony FX3 camera in the S-Log3 profile. To transform it into the Rec. 709 profile, we need to apply the appropriate LUT. But DaVinci Resolve also has a professional solution to this issue: a plug-in called Color Space Transform, which contains camera profiles and all the necessary gamma for professional color correction in cinema. This is where we select the profile for our footage (Image 2). The location of the CST node, among other nodes, affects the final image for the viewer. Therefore, some changes need to be made before the CST node, such as white balance, exposure, and noise reduction.
This footage also contains some noise. To lessen it, we used the built-in Noise Reduction function in the created NR node. The settings are shown in Image 3.
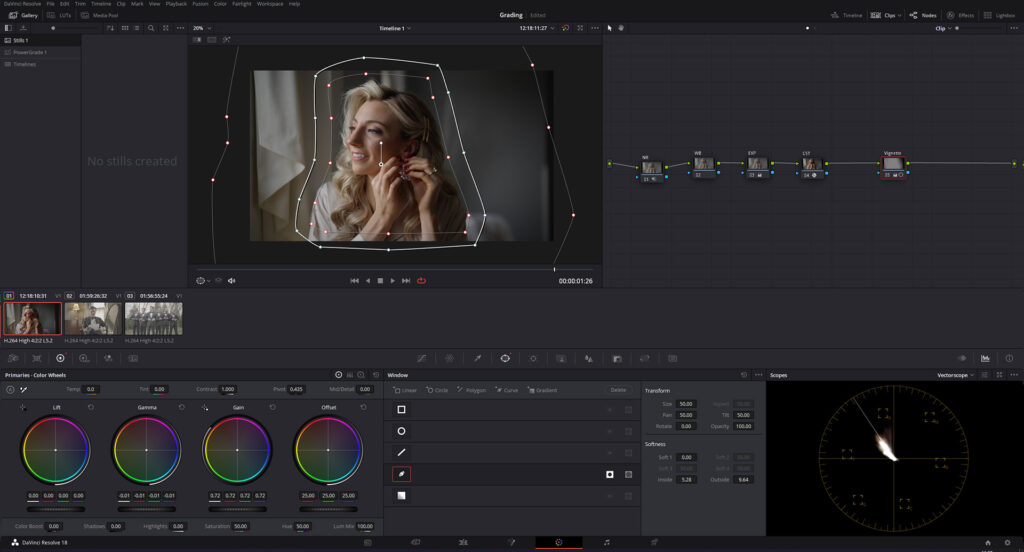
Then, we can apply the vignette effect (Image 4) by manually creating a mask in the new Vignette node. Here, we selected the bride and inverted the mask. After that, we lowered the Gain and Gamma parameters to create a vignette. We can do the same by using the built-in plug-in in DaVinci Resolve, but we prefer creative solutions in the process.
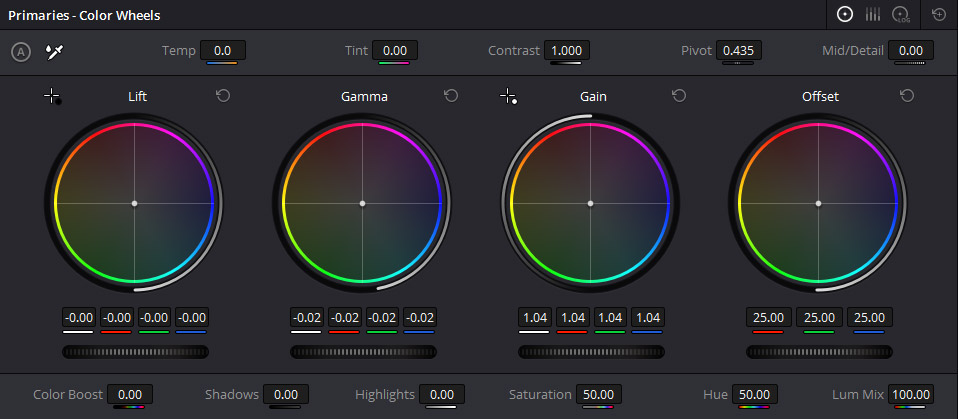
Before correcting the white balance, we need to make sure the exposure is also set correctly. In our case, the exposure has the correct values, so we will only correct the gamma. Let’s lower it to -0.02 in Color Wheels – Gamma (Image 5).
Next, we should correct the white balance. Image 6 shows temperature and tint changes in our WB node.
We also see that parts of the face and hands are slightly overexposed. To correct the brightness, we can make masks for these parts of the shot, reduce the brightness, and make tracking for them so that the mask follows the selected parts of the shot throughout the process. Image 7 shows the tracking of the face mask (Gain is lowered to 0.95). Image 8 shows that we have added a parallel mask tracking node for the bride’s hand (Gain has been lowered to 0.98).
Image 9 shows a shot without masks on the face and hands. Accordingly, Image 10 shows the shot with masks.
As you can see, we achieved a balanced shot in terms of brightness. After that, it is possible to work with it further if you want to add creative touches to it. For example, we can use a LUT to create a Film Emulation effect – Image 11. By applying Timbre 02 and Film Emulation, we get a very beautiful, vibrant, and colorful shot, just like in your favorite Hollywood movies.
Adding LUTs
We also decided to experiment and apply Dolce 05 + Film Emulation (Image 12) and Timbre 04 + Film Emulation (Image 13) to one of the shots. The results speak for themselves – with such low-exposure LUTs, we obtained a superb cinematic effect in both cases.
Conclusion
Today’s workshop shows that it’s possible to create a great cinematic atmosphere with just a few steps of color correction and color grading. And we can easily replicate this in your wedding film too!
—
FAQs
My footage looks gray and washed out straight off the camera. Did I shoot it wrong?
Probably not. Footage shot in a log profile like S-Log3 is supposed to look flat, because that flatness preserves information for the edit. The color comes back when the footage is transformed into a viewing profile like Rec.709, using a matching LUT or DaVinci Resolve’s Color Space Transform tool. Flat out of camera usually means you did it right.
Can slightly overexposed faces or hands be rescued in the edit?
Within limits, yes. The workshop in the article shows exactly this fix: masks drawn over the bright areas, brightness pulled down slightly, and tracking applied so the masks follow the subject through the shot. Mild overexposure responds well to this. Heavily blown highlights are a different story, since detail that was never recorded can’t be drawn back out.
Do I have to choose between a natural look and a cinematic one?
They’re stages rather than rivals. The process shown builds a balanced, natural base first, with white balance, exposure, and noise handled, and only then layers creative choices like film emulation LUTs on top. A film look applied over a properly corrected shot reads as cinematic; the same look over an uncorrected one mostly reads as a mistake.
Will the film-emulation looks from this article work on my footage?
Possibly, but not automatically. The examples were graded on specific footage with specific LUTs (Timbre and Dolce variants over a corrected base), and results shift with your camera profile, lighting, and exposure. Sharing reference frames or your own LUTs with whoever grades your wedding films gives a much better chance of landing the look you have in mind.
—
Terminology
Node – DaVinci Resolve’s version of an adjustment layer, where each color correction step lives separately. Professional colorists keep just one or two actions per node, which makes a wedding edit easier to fine-tune and troubleshoot.
Color Space Transform (CST) – a built-in DaVinci Resolve tool that converts footage from a camera profile like S-Log3 into standard Rec.709 color. Its position in the node chain matters, since white balance, exposure, and noise reduction belong before it.
S-Log3 – a Sony recording profile that captures flat, washed-out footage on purpose to preserve maximum color and brightness data. Wedding clips shot this way need conversion in post-production before they look natural.
White balance – the adjustment that corrects color temperature and tint so whites look white and skin tones look true. Getting it right is one of the first steps in basic color correction for any wedding shot.
Gamma – a control over the midtones of an image, the brightness range between deep shadows and bright highlights. Small gamma tweaks help balance a shot without crushing darks or blowing out lights.
Vignette – a subtle darkening around the edges of the frame that draws the viewer’s eye to the couple at the center. Colorists can create one manually with an inverted mask for more creative control.
Mask tracking – making a drawn selection follow a moving subject, like a bride’s face or hand, throughout a shot. It lets editors fix overexposed skin in just that area while the rest of the frame stays untouched.
Film emulation – an effect that mimics the color and texture of classic film stock for a Hollywood-style look. Paired with a creative LUT, it’s a finishing touch that gives wedding footage a vibrant, cinematic character.