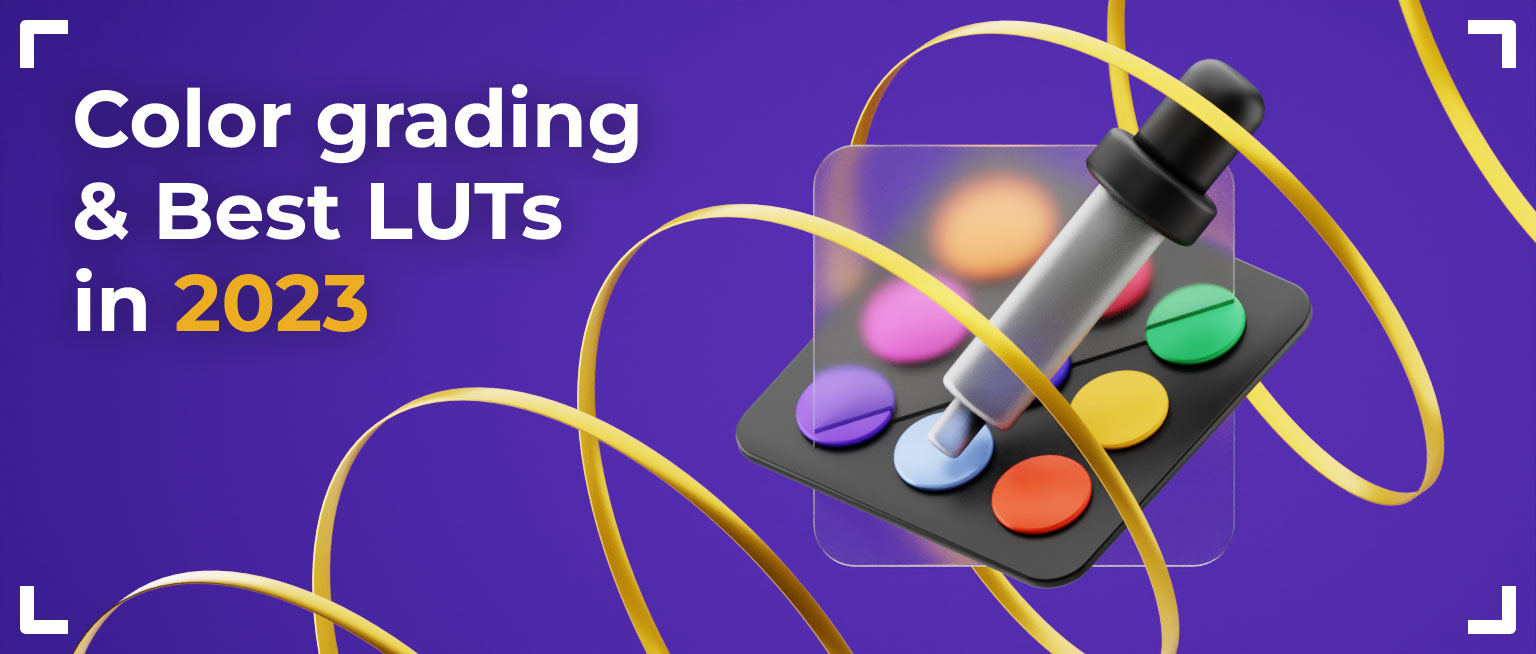
LUTs can set a mood, lock in a signature look, or chase a cinematic feel, and this overview lays out what they do and which collections still hold up, breaking the Timbre presets down one by one. The candid takeaway: the best LUT is usually one built for your own footage, and Bride&Groom.video can reverse-engineer a look from sample clips or craft a custom one. For videographers and editors settling on a grading approach.
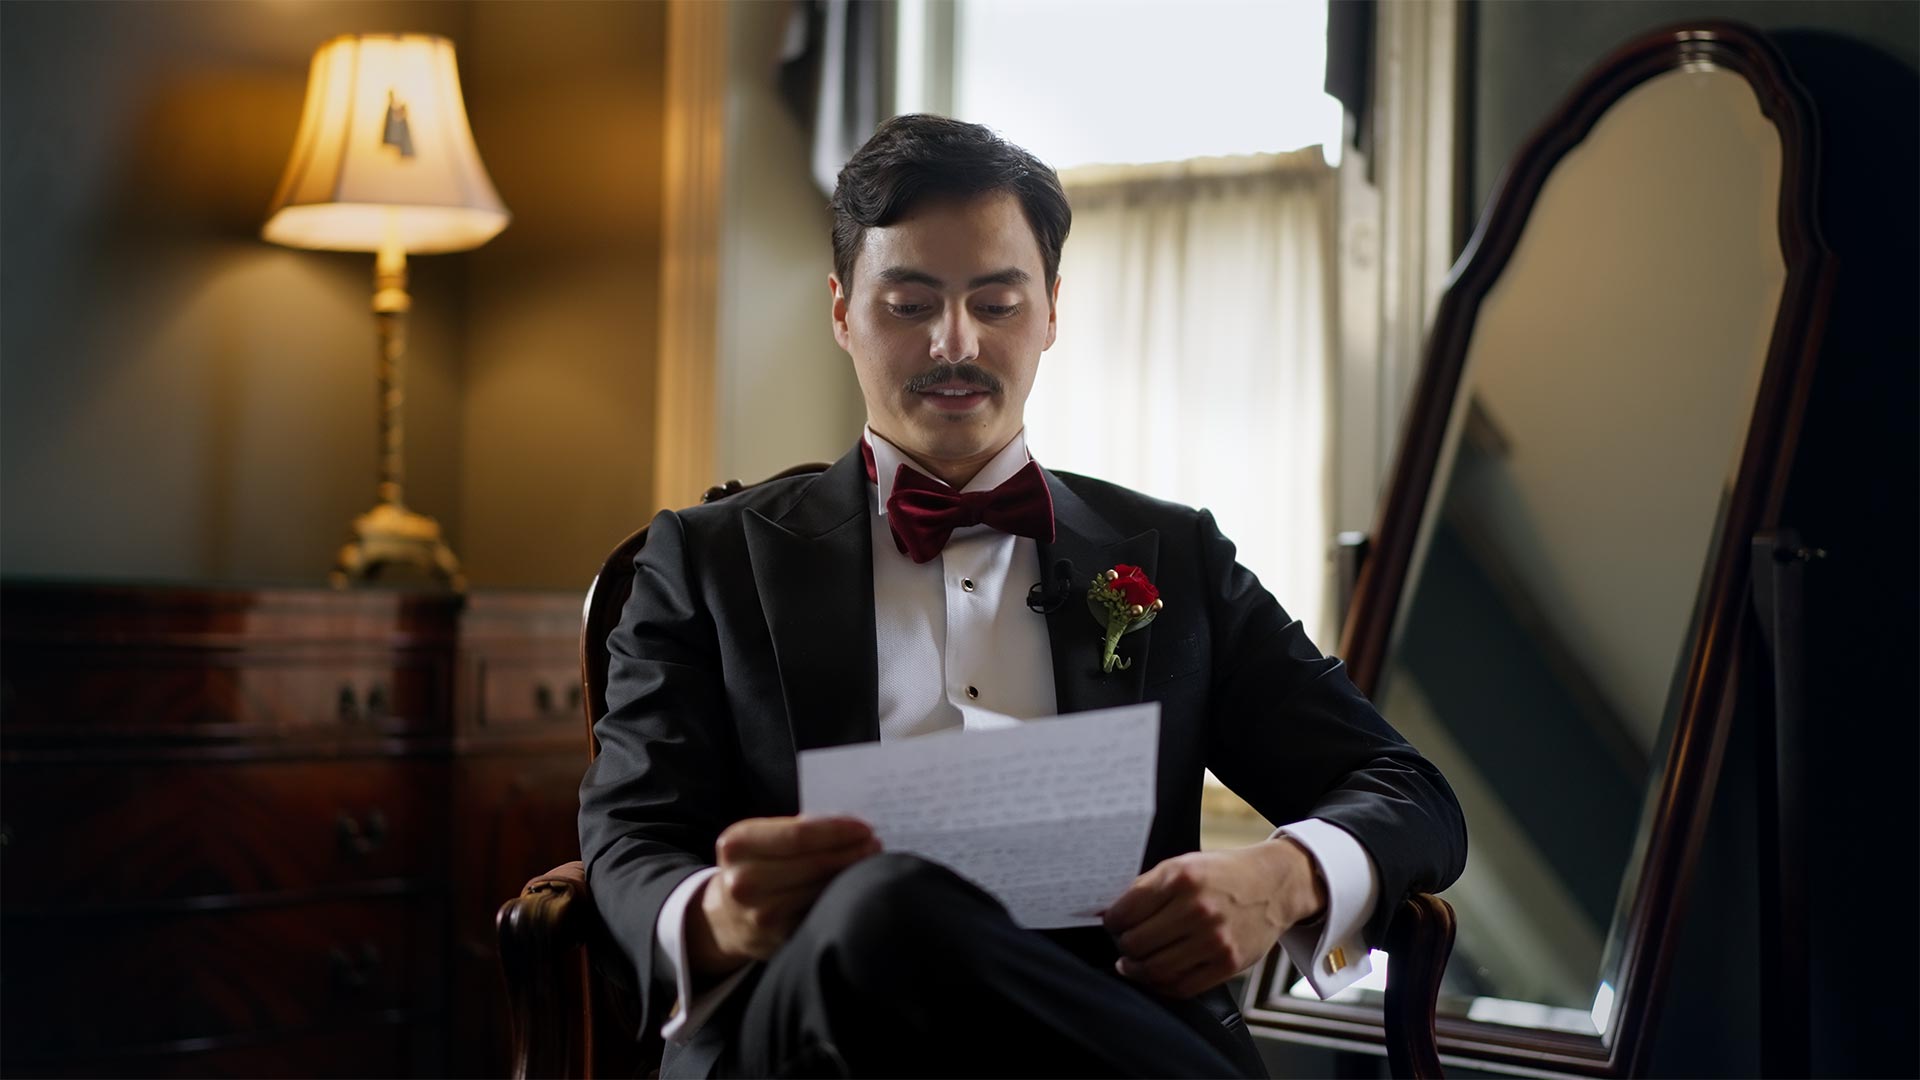
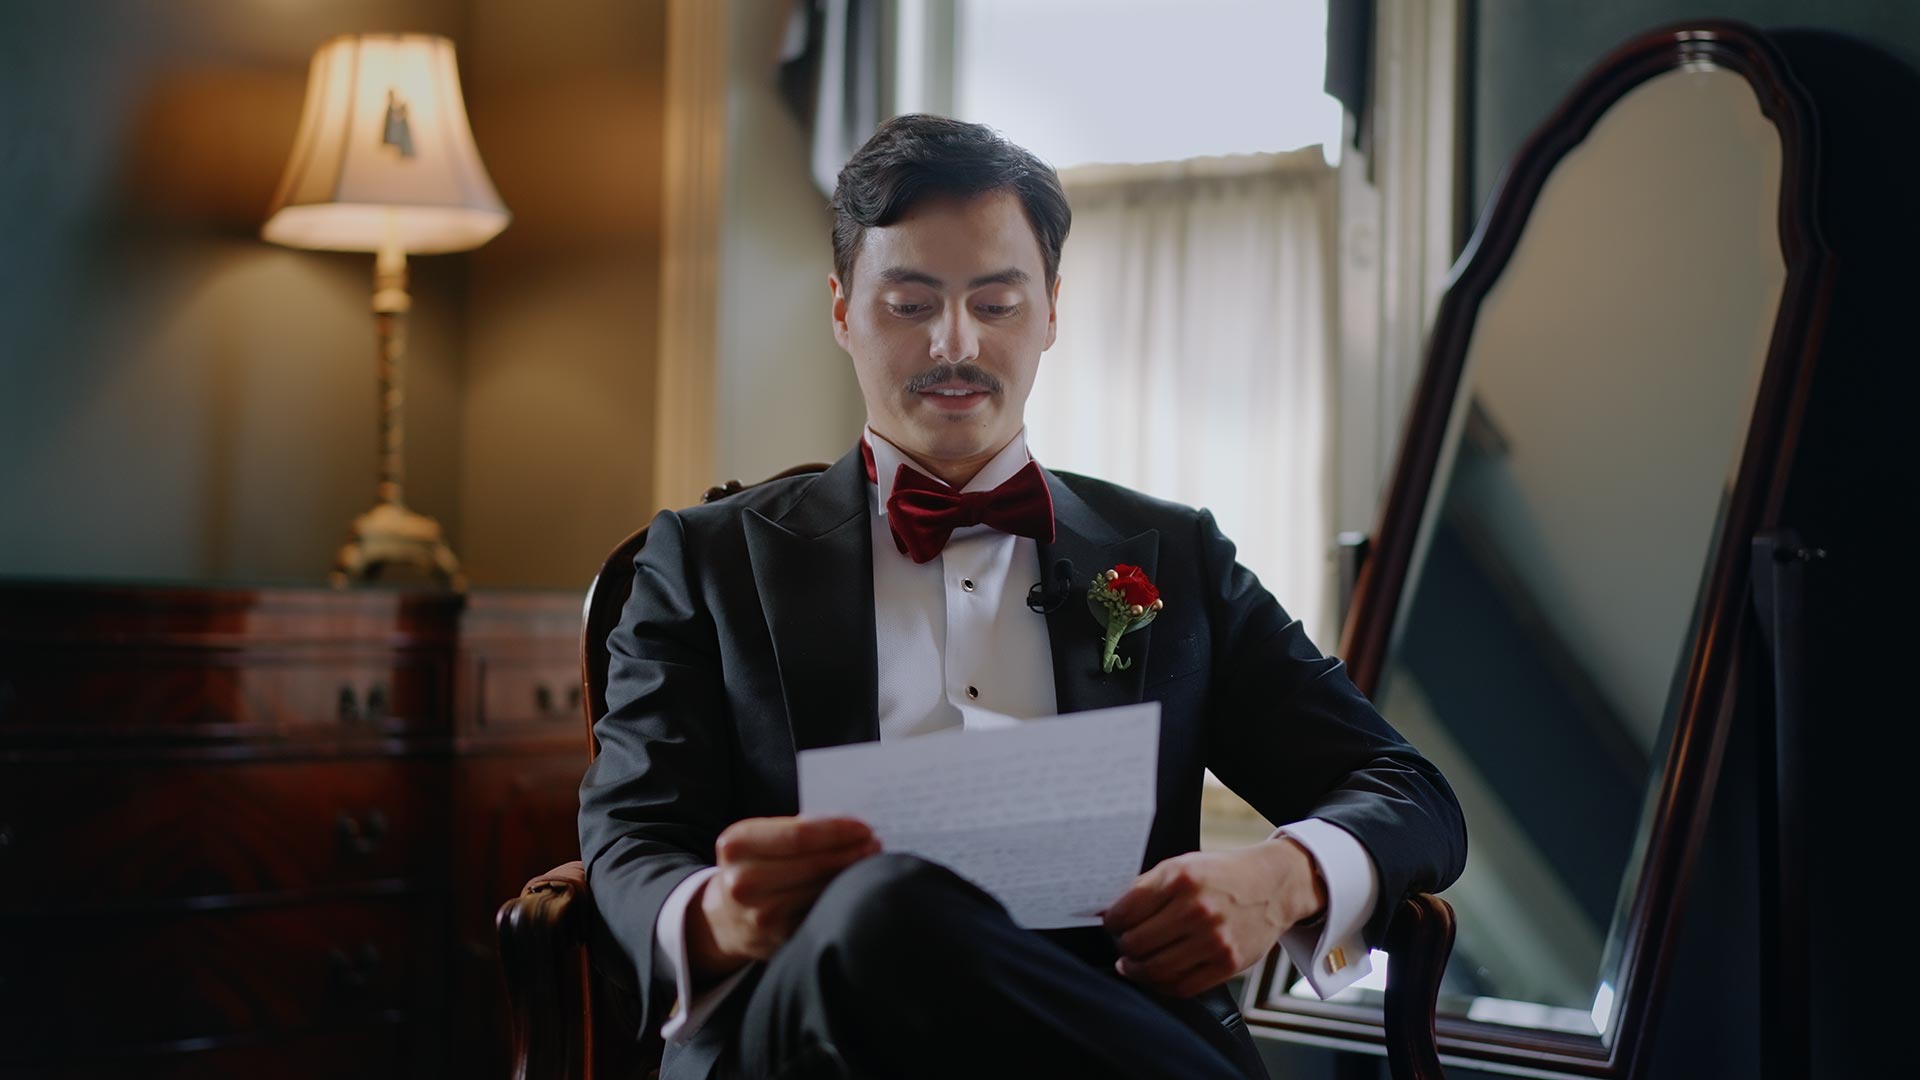
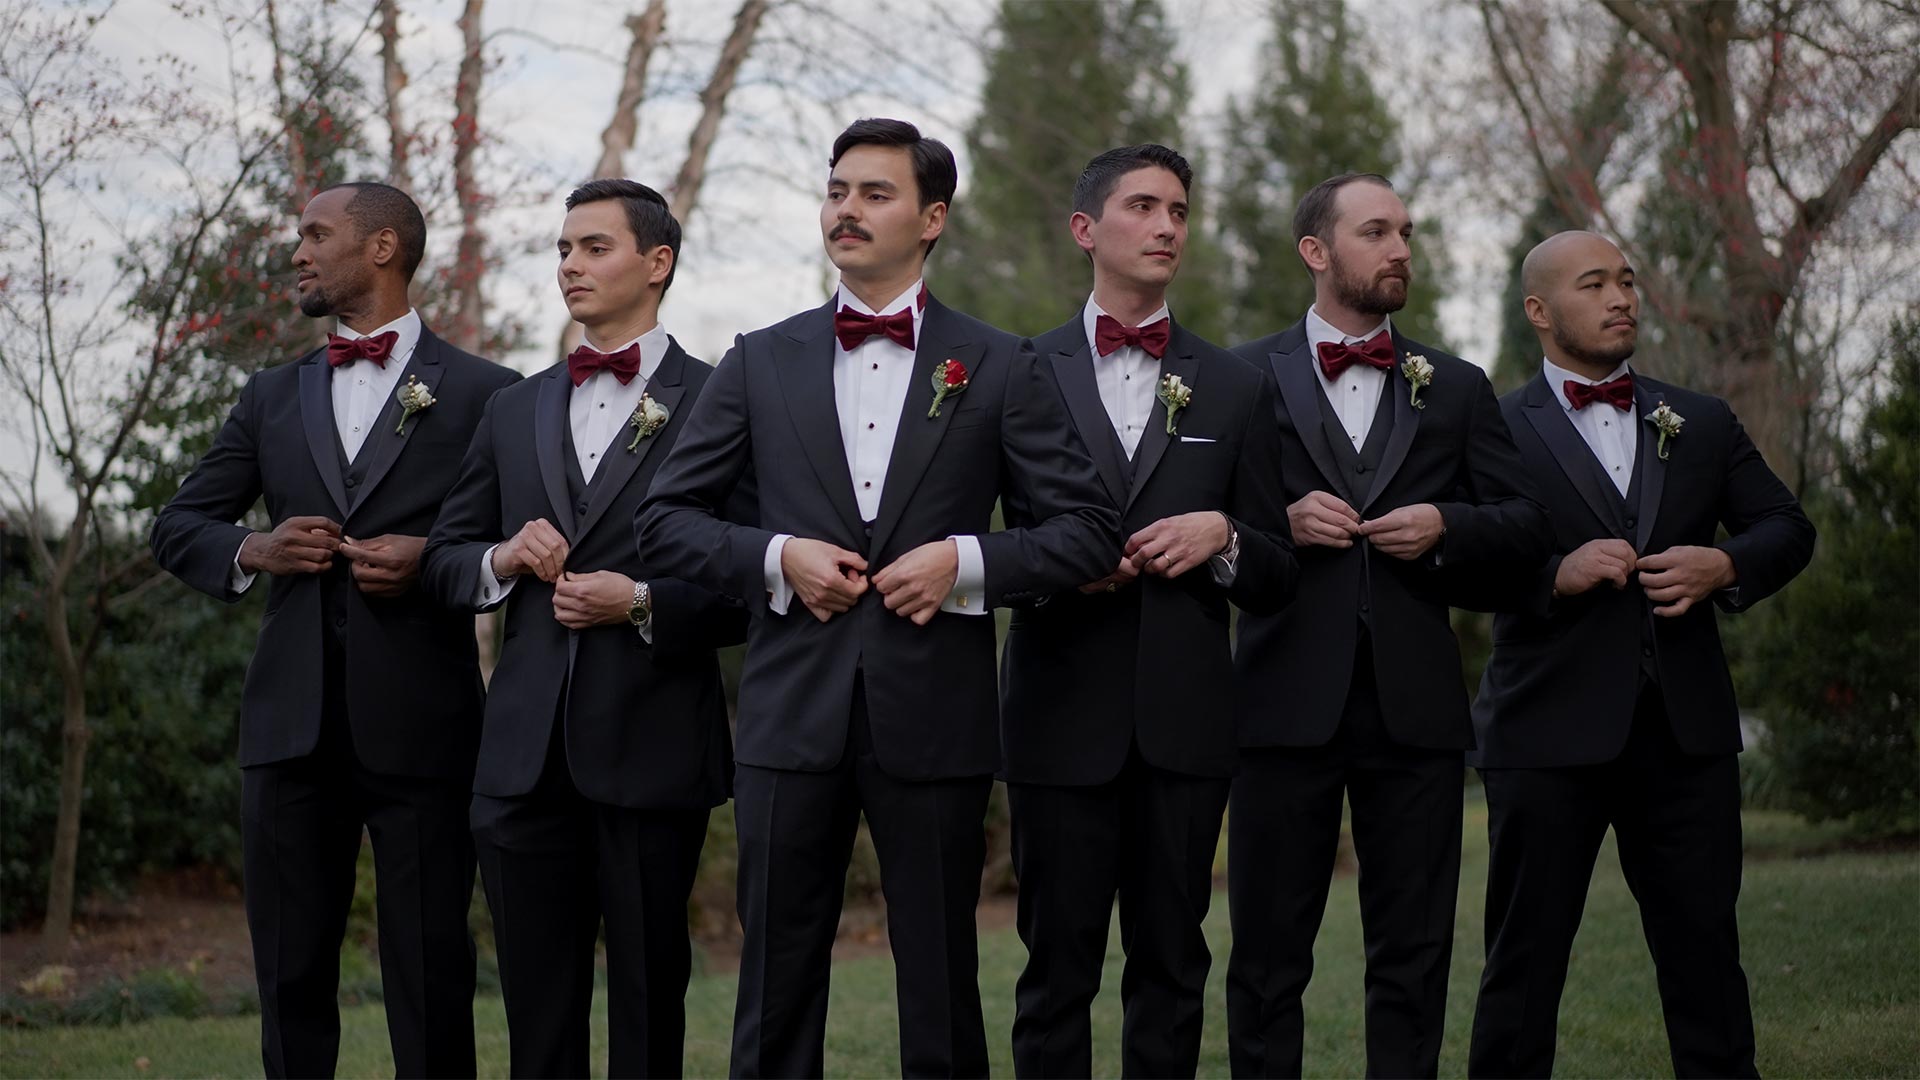
A good wedding film includes not only the right selection of shots and editing but also brilliant work with color, sound, light, and other elements because every couple wants a masterpiece that will impress them for many years to come.
Today, we will talk about color. Color correction and color grading can improve any wedding video. However, if you do not have a sufficient level of training and experience in working with the tools in the color correction panel, you can spend hours choosing the best option in each particular case. Or you can use LUTs.
LUTs can be used both in non-linear editing software (Adobe Premiere Pro and Final Cut) and coloring software, like DaVinci Resolve.
In this article, we will discuss LUTs, explain how wedding videographers and video editors can use them, and show you the most popular LUTs for wedding films that still remain in demand in 2026.
What are LUTs?
LUT (LookUp Table) is a video color grading tool or a preset for any video footage. However, unlike standard plugins and panels, where it is possible to adjust exposure, saturation, and color separately, this option is not available in LUT files.
Such color presets allow editors to transform wedding videos more easily and spend less time without any loss in image quality.
The main reasons for using LUTs include:
- To attain a video’s particular visual feeling
LUTs can help you set the mood of the film. For example, use bright and warm wedding LUTs to set an atmosphere of happiness and joy. Use dark LUTs to create a more intimate and romantic mood. You can also add vintage touches with correctly chosen LUTs.
- To create a unique style for all wedding films
You can use the same LUT for all your wedding videos and thus develop your unique style that can differentiate your films from others.
- Hollywood-style effects
With appropriate LUTs, your video footage can easily mimic your favorite movies, as the cinematic style has been the top choice in recent years.
Best LUTs For Wedding Films in 2026
When it comes to choosing wedding LUTs, we can boldly say that the best LUT is the one you make yourself. This is how you can achieve that ideal result you are striving for. In Bride&Groom.video, we make LUTs ourselves, from the examples the clients send to us. We can repeat any color correction and grading from the video examples under certain shooting conditions.
If you want to choose from the existing wedding LUTs for Premiere Pro, FCPX, or DaVinci Resolve, we bring to your attention three amazing LUT collections for the most beautiful, stylish, and trendy wedding videos in 2026.
White In Revery – Timbre
This collection consists of four beautiful wedding video presets that will help highlight the alluring colors of nature and human skin. These gentle, warm shades are ideal for footage taken in the forest, where there is a lot of greenery, or near the sea, where white and blue colors predominate, and are also an excellent choice for urban scenes.
Timbre 01
Timbre 01 – is a soft, neutral LUT with low saturated colors that make the skin tone as beautiful as possible. A lower contrast will also make the image softer and more romantic.

Timbre 02
This LUT has increased contrast, and it mutes green tints, making it perfect for footage taken on a bright, sunny day.
Timbre 03
This is the best LUT for making objects stand out amid other objects in the background. It just strikes a great balance. The contrast is between 01 and 02.
Timbre 04
Timbre 04 – is the brightest LUT in the entire collection. It will emphasize the deep color and make them even more saturated.
Timbre 05
This LUT is perfect for working with greens. So if your footage contains shots in the greens of the forest or in sage-tinted landscapes, it will emphasize all the verdant shades and make them incredibly colorful and juicy.

White In Revery – Adagio
This wedding LUT pack consists of five bright LUTs, creating wedding video footage that is vibrant, colorful, and full of life.
Adagio 01
Adagio 01 will accentuate the green hues and make all greenery shots incredibly juicy.
Adagio 02
Adagio 02 will add warmth and brightness to orange and red colors.
Adagio 03
Adagio 03 will save the day if the lighting is not good enough or there is little light, making the footage spirited, warm, and rich.
Adagio 04
Adagio 04 is designed to enhance pastel colors such as white, blush, blue, and yellow.
Adagio 05
Adagio 05 will plunge you into the atmosphere of a modern B&W look.
White in Revery – Dolce Collection
In this collection, you will find six universal LUTs that can be used at any time and with any footage. This realistic palette will preserve all natural colors, making the picture look more vivid and beautiful, with a cinematic effect.
Dolce 01
Dolce 01 – is a versatile, warm LUT that works perfectly in bright light, and when you need to combine cold and warm tones.
Dolce 02
Dolce 02 – is the warmest LUT in the collection. It will add a cinematic touch while leaving the colors looking very realistic.

Dolce 03
Dolce 03 – is a warm LUT that will boost the image’s saturation and brightness.
Dolce 04
Dolce 04 – is a sophisticated LUT that will perfectly illuminate the skin tone, even on the sunniest day.
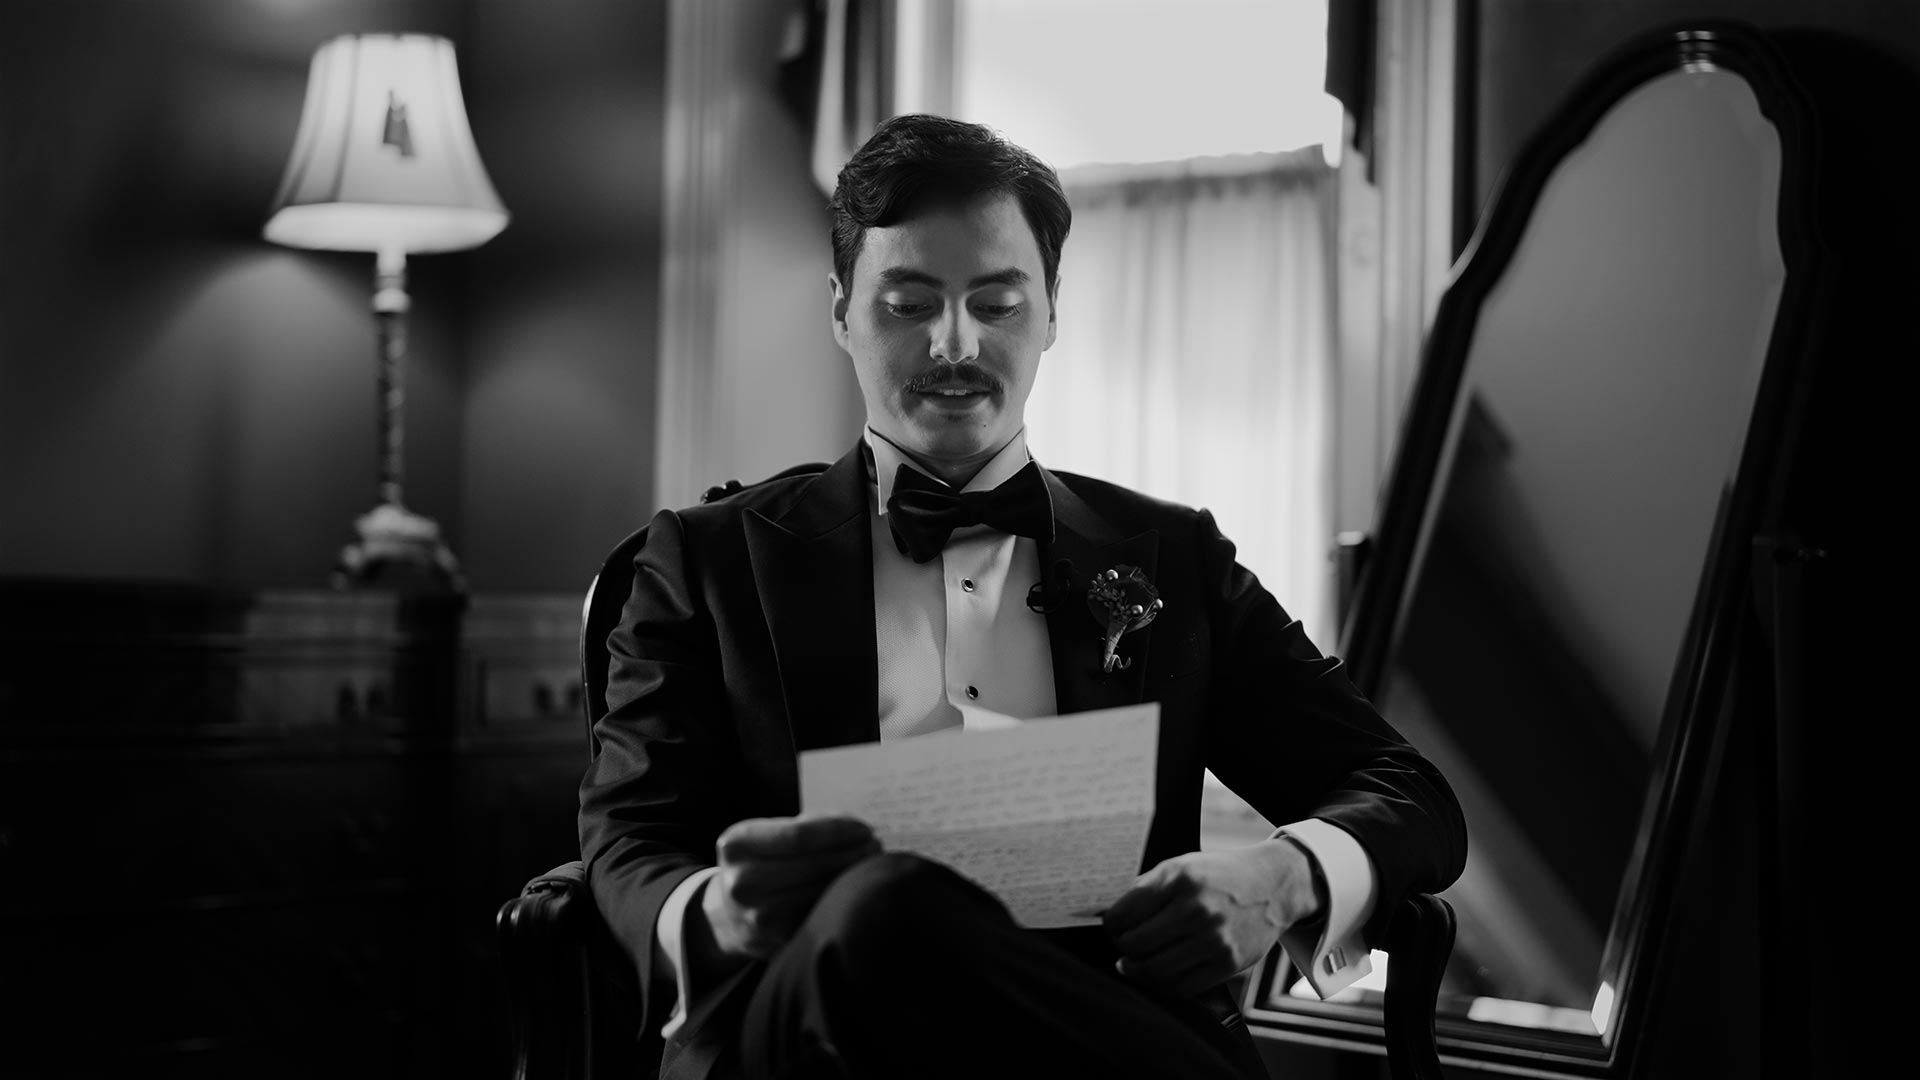
Dolce 05
Dolce 05 – is a low-exposure B&W LUT, ideal for conveying an old black-and-white film ambiance.
Dolce 06
Dolce 06 is another B&W LUT, but with an emphasis on highlighting white tones.
Conclusion
Using LUTs to color grade wedding films is very popular right now. But you should always remember that LUT is not a panacea, and after its application, additional processing may sometimes be needed. However, if you pick up a few LUT files that suit you, then the color correction and grading process will become much easier. And we can always create unique and exclusive wedding LUTs for the most aesthetic and fancy films. To get in-depth details about LUTs and their use in your videos, check out this video tutorial.
FAQ
What are cinematic LUTs?
Cinematic LUTs can plunge you into the atmosphere of a real Hollywood movie. They focus on the artistry aspect and work perfectly with the saturation of colors and skin tones.
What a LUT makes your video look like an old film?
There are many good LUTs that will create the effect of an old film. Among the most popular ones come from White in Revery – the Dolce Collection pack.
Where should I put my LUT in DaVinci?
To apply a LUT in DaVinci Resolve, go to the “Color” tab. Then, with a right-click on a node, you can go down to “3D LUT” and choose a LUT you want to use.
How to add LUTs to Premiere?
To add LUTs to Premiere Pro, open the Basic Correction tab in the Lumetri panel. Then, under Basic Correction, select the Input LUT dropdown menu. Click Browse” and choose any LUT from the free collections, or add the one you want to use.
How to add LUTs to Final Cut Pro?
To add LUTs to this video editing software, you need to click the Metadata View pop-up menu in the bottom-left corner of the Info inspector and then choose “General,” “Extended,” or “Settings.” Then, click the Camera LUT pop-up menu and choose “Add Custom Camera LUT.” After that, you can choose wedding LUTs for Final Cut for your video.
—
Terminology
LUT (LookUp Table) – a color preset file that applies a complete look to wedding footage in one step, instead of adjusting exposure, saturation, and color separately. The same LUT used across all your films becomes part of a recognizable signature style.
Color correction – the technical step of fixing footage so brightness, contrast, and colors look clean and natural. It comes before any creative styling and lays the foundation that LUTs build on.
Color grading – the creative process of shaping a film’s color to set its mood, from warm and joyful to dark and intimate. In wedding videos, grading is what creates the cinematic, Hollywood-style feel couples love.
Saturation – how intense or vivid the colors appear in a shot. Different LUTs raise or mute saturation in specific ranges, such as boosting greens for a forest wedding or softening tones for a romantic look.
Contrast – the difference between the brightest and darkest parts of the image. Lower contrast makes wedding footage feel soft and romantic, while higher contrast adds punch on bright, sunny days.
B&W LUT – a preset that converts footage to black and white with a specific character, such as a nostalgic vintage feel or a clean modern tone. It’s a quick way to give select wedding moments a classic film ambiance.