Phantom is a free DaVinci Resolve and Premiere Pro plugin from Bride&Groom.video that clones an object in a shot into a soft, layered, almost ghostly effect. The post traces where the idea came from (rings lit in a dark room), reconstructs the original by-hand technique with masks and compound clips, then shows how the plugin does the same far quicker, carrying the color correction across and keeping the timeline clean. One for editors who want the look without the manual slog.
Have you ever created a unique effect with one of the shots in your wedding films and wished that you could recreate it in other projects? We want to do this all the time at Bride&Groom.video as we edit our clients’ wedding videos and scale their unique approaches across their work.
So we created a free plugin for DaVinci Resolve and Premiere Pro that allows us to easily clone an object in a shot. We called it Phantom, to emphasize the sense of invisible movement and layering, which gives this effect a mystical quality, creating the illusion of a multidimensional space. Our editor Andrew, one of the authors of this plugin, described the idea for this blog.
The Plugin Inspiration
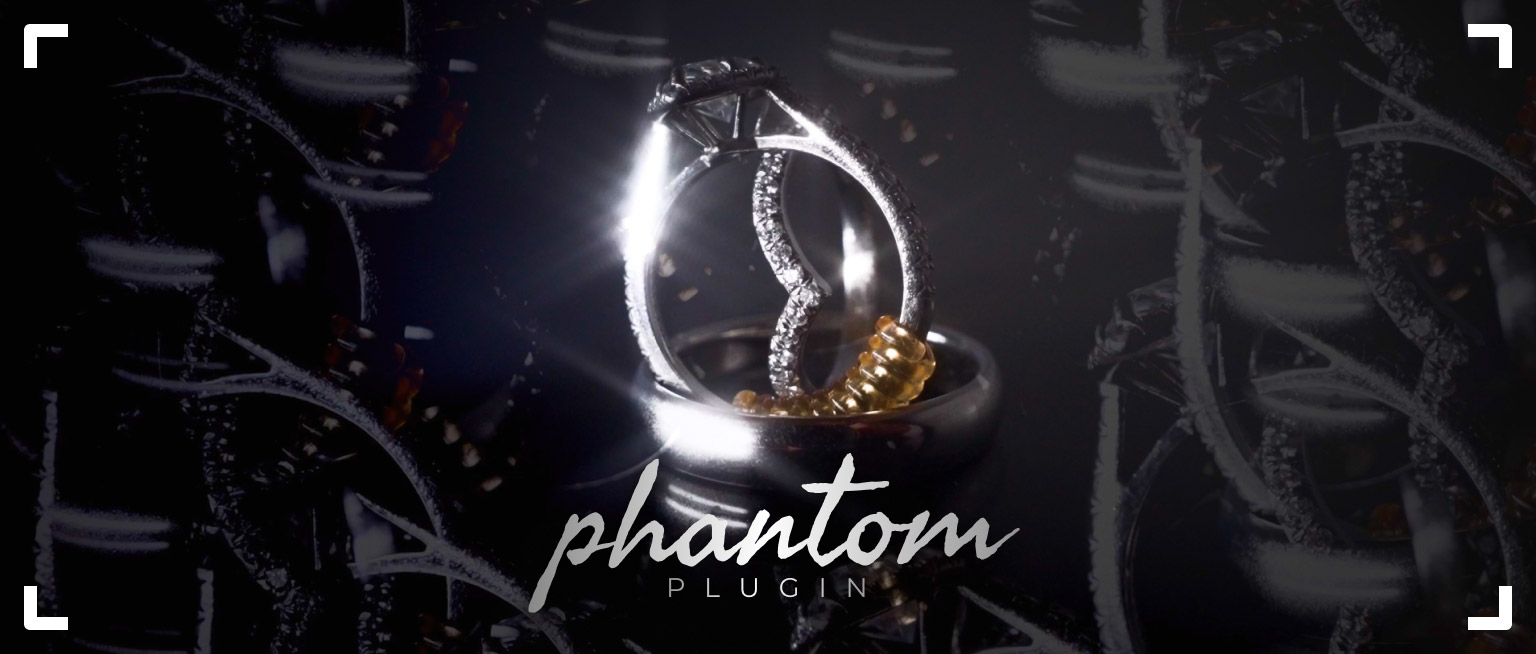
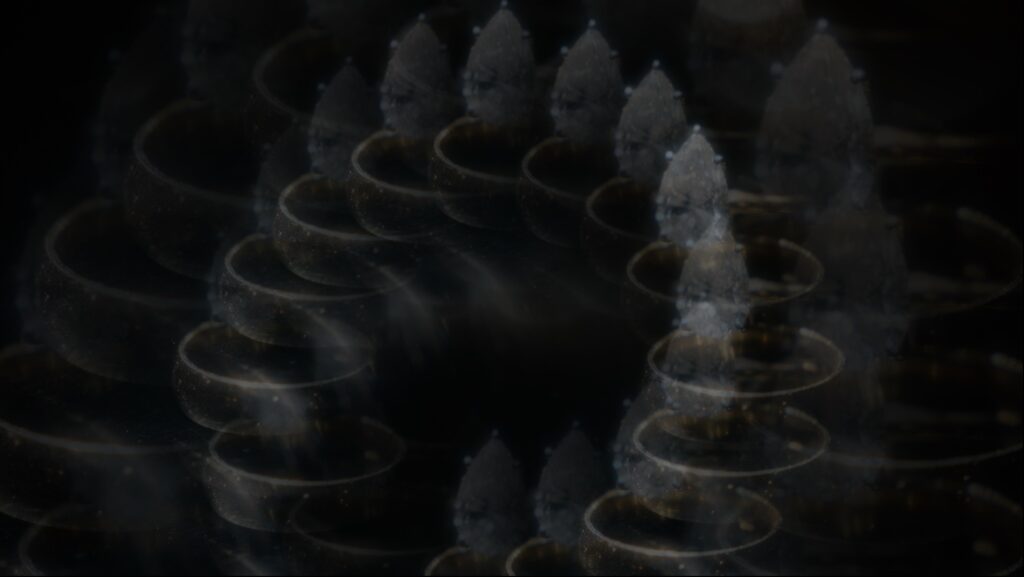
We were editing a film for a Bride&Groom.video client and there was a shot of rings on a piano with many reflections around. The videographer placed the rings on glass and shined a bright, focused beam of light on them in a dark room.
When I first looked at this clone effect, it seemed filled with magic or illusion to me, and then the word ‘Phantom’ came to mind. Something unreal that exists only in the imagination, like a ghostly trail of movement or an image we see out of the corner of our eye. I decided to enhance this magic and give the shot a wow effect while keeping the viewer’s attention on the main object by adding even more phantoms around the ring.
To create the phantoms around the rings, I followed this manual process:
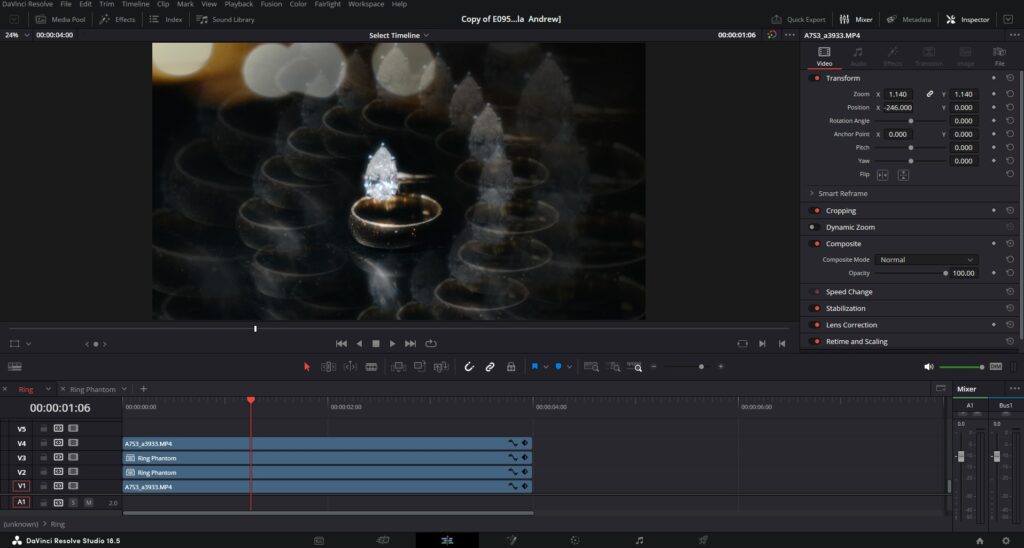
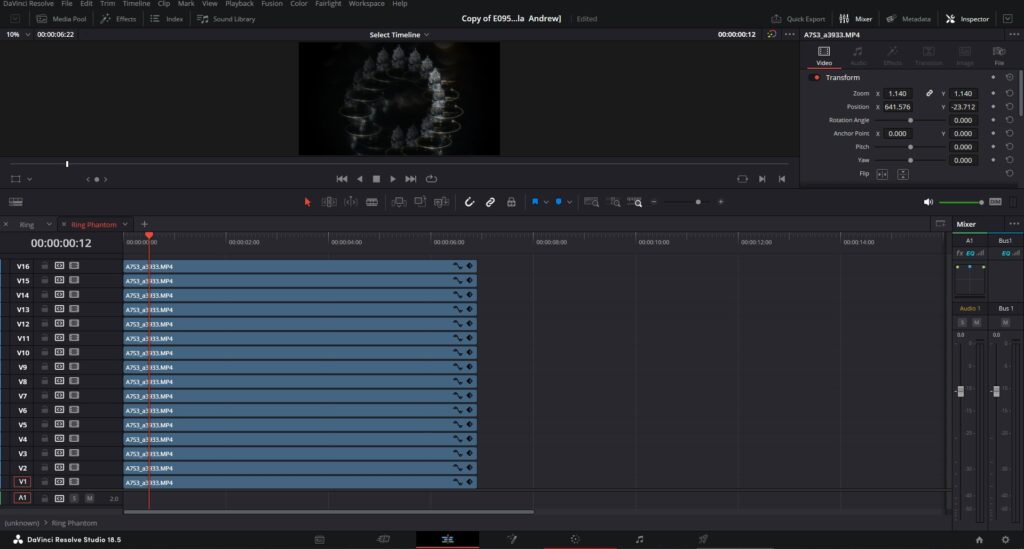
1. I created a mask on our object, adjusting its smoothing, size, and adding Add Alpha Output. I duplicated the video as many times as needed for the phantoms (leaving the background of the shot without a mask and temporarily disabling it for comfortable work with the duplicates).
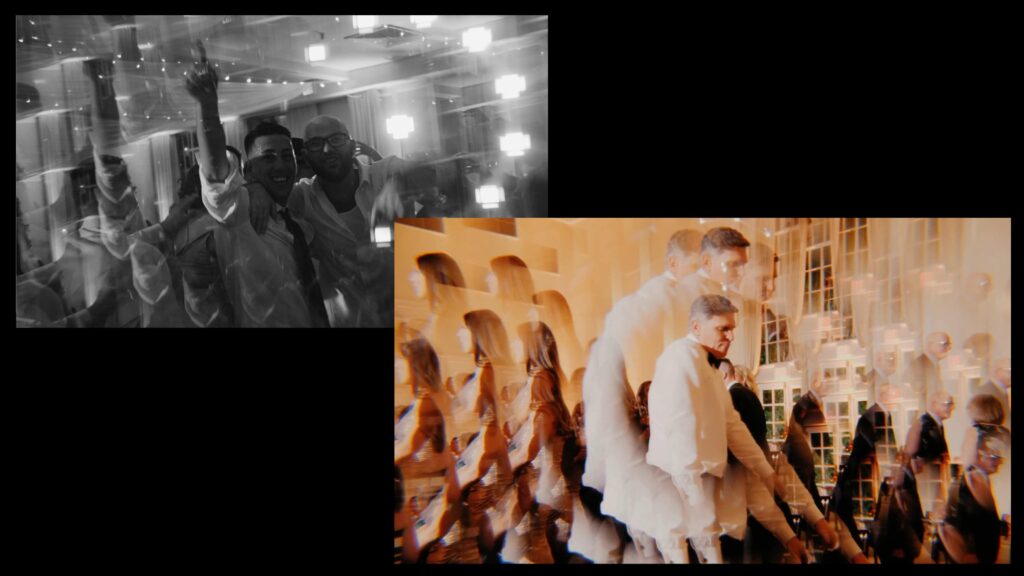
2. I used the software function Сompound Сlip with the duplicates. I arranged the phantoms by the Position parameter as needed, and adjusted the transparency and blending mode (Normal, Screen, Lighten) of the Compound Clip with phantoms.
3. Next, I created another copy on top of the main object starting in its center, which will be at the very top of all our copies, and add more smoothing to this mask to prevent the copies from covering our base and make the ring sharper.
4. If we had light that appeared and disappeared, I used keyframes on transparency to set the appearance of the phantoms at the moment the diamond was illuminated.
5. Last, I added one of the additional effects to the background. In this case, a blur. We created the phantom effect to enhance attention to the object, not to lose it; everything else in the frame is decoration.
The Dilemma Without a Plugin
While the final technique has an incredible effect, creating it had two downsides: massive consumption of PC resources, and a huge time investment.
Creating each duplicate manually had its own challenges. For example, each duplicate has its own node tree, and if you need to apply changes in the Color Correction feature, you’ll have to do so for each phantom. While it may not be complicated to do this for five duplicates, a truly wow effect may need 10-15 phantoms, which means a ton more work.
You could create an additional copy of the phantoms for another layer.
But these manipulations look confusing.
So, the Bride&Groom.video team set out to create our Phantom Plugin, which optimizes and speeds up the process of making this effect for you
The Perks of the Phantom Plugin
Above all else, the Phantom Plugin will save you time so you don’t have to recreate the complex process we outlined above.
But beyond that, it also:
- Organizes your workspace, keeping all necessary settings in one place. For example, you don’t need to search in the Compound Clip for the needed duplicate and its mask and adjust it separately (there’s only one piece of footage on the timeline, not 10)
- Works in the Edit tab in Inspector, not in Fusion
- Pulls in the color correction of the footage, so there’s no need to change the node tree in each duplicate additionally. (In Fusion, you can’t pull the color correction from the Color tab.)
- Can be copied to any other piece of footage
- Reduces the complexity of shooting. The videographer doesn’t need to buy mirrors and additional filters, fuss, and waste time during wedding shoots to achieve such a cool effect.
How the Plugin Works
The plugin was created with standard DaVinci tools in Fusion. Thanks to this, it works on any version of DaVinci Resolve. All control elements are divided into four tabs.
The first tab, Controls, includes general settings, working with the mask, and the parameters needed first. I recommend always starting work with the Soft parameter.
The second tab, Background, is a separate control for the background that can be adjusted in position and have various blur effects applied to it. A separate main duplicate of the object is highlighted, and all necessary elements for adjustment: Position, Scale, and other variables are available. Thanks to the Background tab, you can adjust the main object so that it is in the foreground.
All control elements for each phantom (compositions like position, scale, opacity, animation, and masks) can be set individually, or for all phantoms at the same time. If you want to make more precise adjustments, you can increase the number of phantoms to 10 and adjust their position, transparency, and size independently, animate each separately, or all together.
Two pro tips for you: first, when working with parameter animation, sometimes you need to reset the settings of one parameter while leaving all other settings. To do this, you need to right-click on the desired item and select “Remove [parameter_name].”
Also, if you need to delete only one keyframe, not all, select “Remove Key,” but remember that the playhead’s keyframe will be deleted on the timeline.
How To Install the Phantom Plugin
First, download the plugin from Bride&Groom.video website using one of the links below, then follow the instructions in the guide.
⬇️ Phantom Lite Plugin for Premier Pro [Download & User Guide]
⬇️ Phantom Lite Plugin for DaVinci Resolve [Download & User Guide]
From now on, you’ll have this unique visual effect at your fingertips anytime you edit your videos.
Credits
The Phantom Plugin was developed by:
- Vasyl Trofimov, Senior Editor specializing in DaVinci Resolve
- Andrii Kryzh, Senior Editor specializing in Adobe Premiere Pro
—
FAQs
I’ve never worked in Fusion. Can I still use the Phantom effect?
Yes. That’s one of the reasons the plugin is useful. Although it was built with Fusion tools under the hood, the controls live in the Edit tab’s Inspector, so you adjust phantoms, masks, and backgrounds without opening Fusion at all. It was also built from standard DaVinci components, which is why it’s described as working on any version of Resolve.
Can I add the phantom effect to a shot I didn’t plan for it?
Often, yes, and that’s one of the perks the team highlights: the videographer doesn’t need mirrors, filters, or special setups on the wedding day. That said, the effect works best on shots with a clear main subject, like the rings under a focused beam of light that inspired it. A busy frame with no obvious focal point gives the phantoms less to work with.
Will running 10 or more phantoms overload my computer?
The manual version of this effect was genuinely heavy, both on PC resources and on time, since each duplicate carried its own node tree. The plugin removes most of that overhead by consolidating everything into one piece of footage on the timeline with shared settings. Layered effects still ask something of your machine, but the workflow is far lighter than building duplicates by hand.
I dialed in a phantom look I love. Can I reuse it on other films?
You can copy the configured effect onto any other piece of footage, which was much of the motivation for building it: recreating a one-off effect across future projects. Settings like phantom count, position, opacity, and animation carry over, and you can adjust them per shot from there rather than rebuilding the look from zero each time.
—
Terminology
Mask – a drawn selection that isolates one object in a shot, like wedding rings, so effects apply only to that area. Its edges can be smoothed so the isolated object blends naturally into the frame.
Compound clip – a DaVinci Resolve feature that packages multiple layers or duplicates into a single timeline item. It keeps a complex effect, like a stack of cloned objects, manageable as one piece of footage.
Blending mode – a setting that controls how a layer mixes with the layers beneath it, with options like Normal, Screen, or Lighten. Different modes change how ghostly duplicates interact with light and reflections in the shot.
Keyframes – markers placed on the timeline that tell a setting to change over time, such as making duplicates fade in exactly when light hits a diamond. Animating transparency this way is what makes the phantom effect feel alive.
Node tree – the chain of connected adjustment steps that each clip carries in DaVinci Resolve. Building this effect manually meant editing the node tree of every duplicate separately, one of the main time drains the plugin eliminates.
Fusion – the visual effects workspace built into DaVinci Resolve, used for compositing and motion graphics. The Phantom Plugin was built with Fusion tools but runs from the simpler Edit tab, so editors don’t need Fusion skills to use it.