Within our team, we are fortunate to have editors who previously worked as videographers, granting them valuable insight into the entire workflow from both sides of the spectrum. To optimize the collaboration between our editors and our client videographers and produce the finest end results, we sought advice from one of them. Today, we are excited to share the information we gathered with you.
How to optimize the wedding filming workflow?
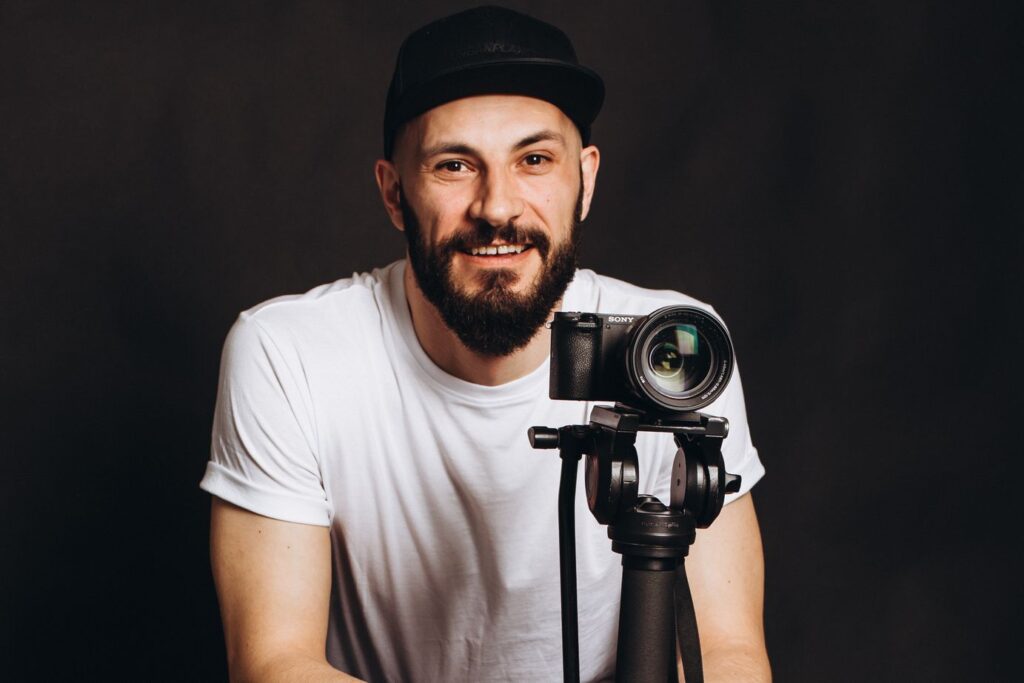
“My name is Vlad Chemera, and I’ve been involved in wedding videography since 2015. Throughout the process of shooting and editing my projects, I’ve delved deeper into the world of videography, constantly striving to optimize my workflow for maximum time, energy, and equipment efficiency, and to expedite the video editing process.
As I’ve handled every stage of wedding video production – preparation, shooting, and editing – during my 8-year tenure in the field, I’ve developed a set of guidelines that I adhere to and impart to new members joining my team. I refer to these guidelines as “Filmmaking Tips to Create Epic Wedding Films.”
However, first and foremost, I want to discuss the challenges that both my team and I encountered when we embarked on our journey in wedding videography.
1. The urge to capture everything
In my view, the goal of a wedding videographer is not to create a comprehensive “video report” of the entire wedding day but rather to capture the most remarkable and significant moments that can be incorporated into the final video. When there is a desire to “capture everything,” the work becomes rushed, and the quality of the content, both technically and in terms of conveying information and emotions, suffers.
2. A multitude of identical shots
Experience has taught us that 1-2 takes for a particular shot or action are more than sufficient. To err on the side of caution, we capture a second duplicate in a static manner to ensure we have a technically reliable backup shot, while the dynamics are enhanced during the post-production phase.
3. Organizing the filming process
Organizing the filming process into “Camera 1,” “Camera 2,” and so on is essential for efficient wedding videography. Since a significant portion of the wedding day involves a documentary-style approach, it is crucial for the shooters to work together seamlessly and understand their roles at all times.
In my team, we maintain a clear hierarchy among the shooters:
- Camera 1 serves as the lead shooter, responsible for overseeing the filming process.
- Camera 2 assumes the role of a second shooter, following the instructions provided by Camera 1.
This structured approach also extends to organizing staged and artistic shots throughout the wedding day.
4. Staged shots
When it comes to staged shots, it is unnecessary for the shooters to switch positions. For example, one camera can focus on capturing the bride, while the other camera focuses on the groom. There is no need to duplicate the same actions with multiple cameras. In some instances, the second camera can capture the same angle or shot size from a different perspective, offering variety without compromising editing time or generating redundant content.
For procedures like the bride’s preparation, one shooter is usually sufficient. Having multiple shooters trying to capture the same process often leads to interference and unintentional appearances in each other’s shots.
The only situation where deploying two shooters can be practical during staged shots is when the venue or location provides ample space. In such cases, one shooter can use a wide-angle lens while the other utilizes a narrow-angle lens, adding visual diversity. During the editing phase, all the files can be conveniently organized in a single folder, sorted chronologically, facilitating the editing process.
5. Camera settings during filming
Once the camera is in “rec” mode, there’s no need to make further adjustments unless the focus needs to be corrected. Making changes to camera settings requires a substantial time during editing to align the footage in terms of exposure and balance.
6. Understanding when to start and stop filming
During staged shots, pressing the “rec” button should occur when all participants have a clear understanding of their roles, and filming should conclude once the desired shots have been captured. This approach significantly reduces editing time.
These were the primary challenges that my team and I faced, leading to extensive post-production adjustments and time-consuming corrections.
Key rules of filming
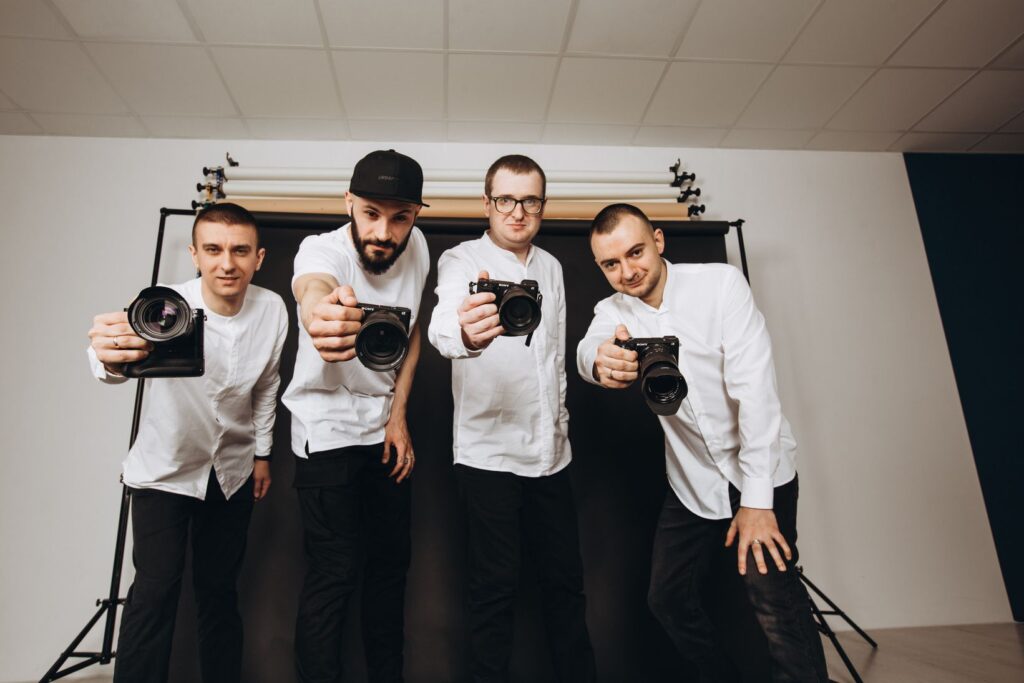
Over time, we have refined our filming techniques to align with the editing process and proactively address potential issues that may arise. As a result, we have established the following rules, which continue to serve as our guiding principles to this day.
The key principles that guide my team and me during filming and the advantages they offer are as follows:
1. Minimize duplicate shots during staged scenes
There’s no need to capture 15 identical shots of the couple’s invitation. During filming, it’s easy to determine whether a shot is well-executed or not. Typically, only one or two shots, taken from different angles, are used in the final video.
Benefits:
Time saved during the editing process, reduced storage requirements for raw footage and backups, conservation of resources like memory cards, batteries, cameras, stabilizers, and the efforts of the shooter.
2. Delete unsuccessful duplicate shots during filming
Drawing from our experience, we can confidently identify a failed duplicate immediately while shooting, considering factors such as shakiness, blurriness, exposure, and balance. By promptly deleting such duplicates during filming, we prevent wasting the editor’s time in reviewing them.
Benefits:
Time saved during editing.
3. Duration of shots
Duration of shots during staged filming is important. A standard shot should last around 5 seconds. For dynamic shots, the cameraman should plan the movement to ensure the key moment is captured around the 3-second mark. During editing, when all shots have the same duration, the editor can easily trim the first and last seconds using hotkeys, focusing on the remaining 3 seconds. These 3 seconds can be stretched or adjusted based on the frame rate, providing ample footage for editing purposes.
If something extraordinary needs to be captured, it can be filmed for longer than 5 seconds. However, the editor understands that shots exceeding 5 seconds are unique and require special attention during the editing process.
Benefits:
This approach maximizes time savings during editing and conserves resources such as memory cards, and battery life for stabilizers and cameras, as well as the efforts of the shooter.
4. Extended staged shots
Regarding extended staged shots, they are generally unnecessary for the final wedding video. The goal is to include a wide range of information and shots, and lengthy shots are typically not extensively used unless specific shots call for them. Capturing long shots is impractical as they are not fully utilized in the final video.
Benefits:
This saves time during both filming and editing, while also conserving resources such as memory cards, storage space, battery life, cameras, stabilizers, and the efforts of the shooter.
5. Shot composition
During staged filming, it’s important to consider the framing and angles of the shots. Adhering to the general rule of cinematography for shot sizes – wide, medium, close-up – brings several advantages.
Benefits:
It reduces the editor’s time spent on shot selection, facilitates the establishment of shot connections, and provides a better understanding of the scene from the shooter’s perspective. Following this rule allows the shooter to capture the scene in the most effective order.
6. Sequential shooting
When the editor begins working on the video project, all the files are already organized by the cameraman during filming. This means that shots of the bride getting ready are grouped together, and reception shots are grouped together, rather than being randomly scattered. For instance, capturing two shots of the bride, then the reception, followed by the groom. Experience has shown that organizing the shots in this manner is manageable even during the busiest wedding schedule.
Benefits:
This approach saves time during the editing process and also saves the shooter’s time. If a previously captured shot is needed, there’s no need to rush around and reshoot it throughout the wedding day.
7. Camera/shooter allocation
In documentary-style filming, the primary responsibility lies with the first camera, which oversees the entire filming process.
For staged filming, the cameras are assigned specific roles:
- The first camera focuses on capturing shots of the bride during the preparation phase.
- The second camera is dedicated to capturing shots of the groom during his preparations.
When filming the couple on a walk:
- The first camera captures expansive wide shots.
- The second camera captures intimate close-up shots.
Benefits:
This approach saves valuable time during the editing process and ensures efficient coordination between shooters.
8. Duration of shots
Documentary-style filming involves all cameras continuously recording footage to enhance shot synchronization during editing. If there is a camera mounted on a stabilizer for capturing dynamic shots, it remains in operation throughout the shoot. Even during transitions between shooting locations, the camera remains active. Moreover, shooters strive to capture shots for a minimum duration of 10 seconds to capture the intended content effectively.
Benefits:
This method leads to time savings during editing and facilitates seamless file synchronization, resulting in a final product of superior quality.
9. Camera settings management during filming
When the “rec” function is enabled, there is no need to make changes to the camera settings unless manual focus adjustment is required.
Benefits:
Saves editing time by maintaining consistent exposure across shots.
10. Scene shooting organization
The cameraman explains the actions to be performed in the specific shot to the couple, takes the designated position for filming, and starts recording only when everyone is ready.
Benefits:
Maximizes the editor’s time efficiency, and preserves resources such as memory cards, camera battery life, and stabilizers, while also enhancing the shooter’s communication skills and ability to effectively convey instructions to the couple.
11. Shooter within the frame.
In multi-camera documentary-style filming, if the cameraman needs to capture something special and might appear in other camera shots, they swiftly enter, record, and exit to ensure that the captured moment can be used to replace any compromised shots from the camera they entered.
Benefits:
Obtains appropriate footage and minimizes the editor’s workload.
12. Capturing the couple
In general, filming the couple should be divided into multiple scenes, each with a logical conclusion (following the structure of any film – exposition/plot development/resolution). The resolution often involves a kiss between the couple. Shots, where the couple is simply walking, are considered technical shots (similar to fillers in TV series) that lack emotional depth.
For instance, if we want to film a scene of the couple walking, the sequence of shots should be as follows:
- Close-up shot of the couple holding hands (exposition)
- Wide shot of the couple walking and approaching each other (plot development)
- Close-up shot of the couple kissing (resolution)
This structure should be applied to all scenes, which will later be edited together to create the final video. Additional shots can be included within each scene, but overall, they should convey information specific to that particular part of the scene. For example, the same walking scene with supplementary shots.
Exposition:
- Location
- Details of the location
- Wide shot of the bride
- Medium shot of the groom
Plot development:
- Wide shot of the couple walking
- Close-up shot of their interlocked hands
- Medium shot of them walking, smiling, and drawing closer
Resolution:
- Close-up shot of them pausing and sharing a kiss
- Wide shot of them kissing
In general, the shooter’s creative approach comes into play as they determine the best way to capture and portray each scene.
Benefits:
Achieving a highly cinematic final result.
13. Reactions
Filming should be approached with the understanding that the editor follows the Kuleshov Effect in crafting the scene. This principle highlights that a character’s reaction to events in a film often holds more significance for viewers than the actual events themselves. For example, a shot capturing the groom’s reaction as the bride walks down the aisle can evoke greater emotional impact for the couple when they watch the video, compared to a shot focusing solely on the bride. These shots work in tandem to create a more immersive experience.
During documentary-style filming, it is essential to have a dedicated camera focused on capturing reactions, and the more reactions, the better. In my team, we refer to this style of filming as “capturing emotions.”
Benefits:
Achieving a highly cinematic final result.
14. Interstitial scenes when filming the couple
Prior to each shoot, the cameraman should prepare around 20 interstitial scenes to capture (taking into account the allotted shooting time). These scenes are selected based on the couple’s unique characteristics and qualities. Whether it’s romance, energy, drive, or tranquility, the shooter chooses the scenes that best reflect the dynamics of the couple. This allows the editor to highlight the couple’s distinctiveness and present them in the most favorable light. This approach ensures that the video is tailored to the couple’s individuality.
Benefits:
Achieving a highly cinematic final result.
15. Dance Filming
When capturing dance sequences, we use a single handheld camera equipped with a wide-angle lens. This technique adds a subtle, fluid shake and enhances the dynamism of the footage, resulting in a highly cinematic final result.
Benefits:
Achieving a highly cinematic final result.
Summary

These guidelines have been developed based on my 8 years of experience to optimize and expedite the workflow for each project.
By adhering to these principles during filming, the editing process for my projects, including full documentary films, highlights, and teasers, has been significantly reduced from 2 weeks to just a couple of days. Moreover, there are additional advantages to adopting this approach:
- Saving disk space: Thoughtful filming eliminates the need for excessive storage disks for storing material and backups, reducing the overall data volume of the wedding footage by 30-40%.
- Preservation of disk, flash drive, and battery resources.
- Maintaining the longevity of the camera is especially crucial for mechanical shutter DSLR cameras.
- Conserving the resources of stabilizers and batteries.
- Reducing the workload for the shooter, allowing them to focus more on creative decision-making rather than physical tasks.
As a result of optimizing my work and that of my team, we have successfully met every project deadline over the past 8 years. I am confident that we will continue to deliver projects on time in the future.
Most importantly, our clients can receive their final material much faster, enabling them to enjoy the end product and our collaboration even more 🙂 “
