Color grading goes beyond simply adjusting exposure, contrast, or white balance – those belong to what’s known as color correction, the technical step to make footage look clean and natural. Grading is where the real magic happens – it transforms your footage from flat to cinematic.
Color grading is a post-production process that goes far beyond adjusting basic image settings like exposure, contrast, or white balance. It involves detailed toning (complementary or analog looks, for example), skin tone refinement, object highlighting and tracking, and cinematic effects like film emulation, bloom, halation, and more.
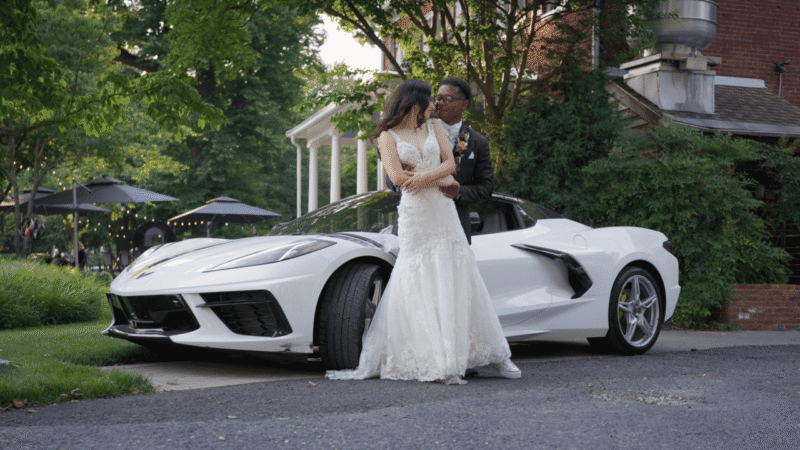
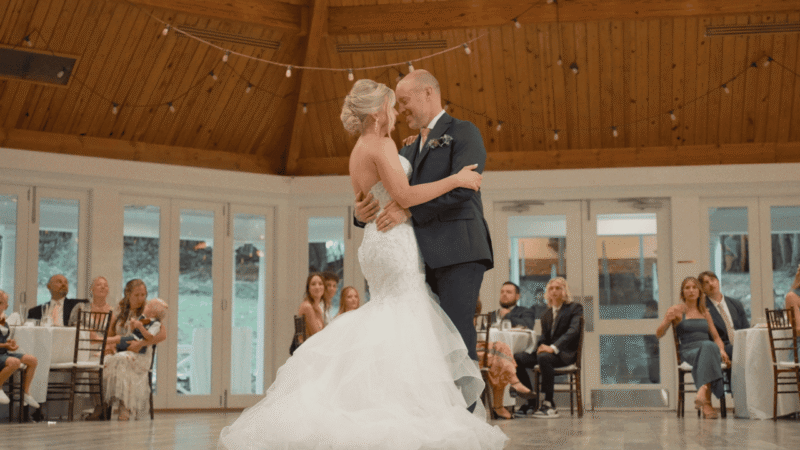
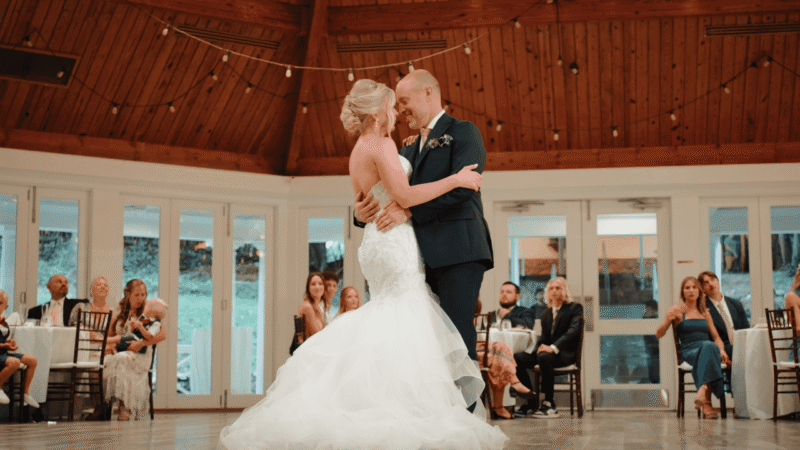
Color grading plays a crucial role in wedding films, just as it does in big-budget movies. It helps create a polished, cinematic feel that brings out the emotion and atmosphere of the day. Color grading isn’t just important in cinema – it’s just as essential in wedding films. Today’s consumer cameras can shoot in logarithmic color profiles, which are incredibly flexible for color adjustments. This allows us to truly capture the atmosphere of the day – the warmth, tenderness, and raw emotion.

Every filmmaker has their own way of approaching color grading – some go frame by frame, some rely on LUTs, and others build complex node structures like they do in Hollywood. At Bride&Groom.video, we’ve developed a simple, flexible, and efficient grading system, consistently delivering excellent results across most of our projects.
Of course, if you have a specific look or workflow in mind, we’re always open to working with that. Keep in mind that custom grading setups usually take a bit more time and effort on the editing side. We’ll break down the details below.
How We Do Color Grading

When we talk about color grading, we’re usually working in DaVinci Resolve, the go-to tool for serious color work. While we can achieve solid results with color correction – adjustments like exposure, contrast, and white balance – in Adobe Premiere Pro, Final Cut Pro, and Resolve, these programs differ significantly in their capabilities. Premiere and Final Cut are great for foundational correction, which we include in every project by default, but they aren’t built for the kind of advanced, cinematic color grading we specialize in.
That’s where DaVinci Resolve truly shines – it gives us way more creative freedom and far more tools to dial in the look.
It’s hands-down the most advanced tool for color correction, which is why we rely on it to achieve that cinematic, polished feel in our wedding films.
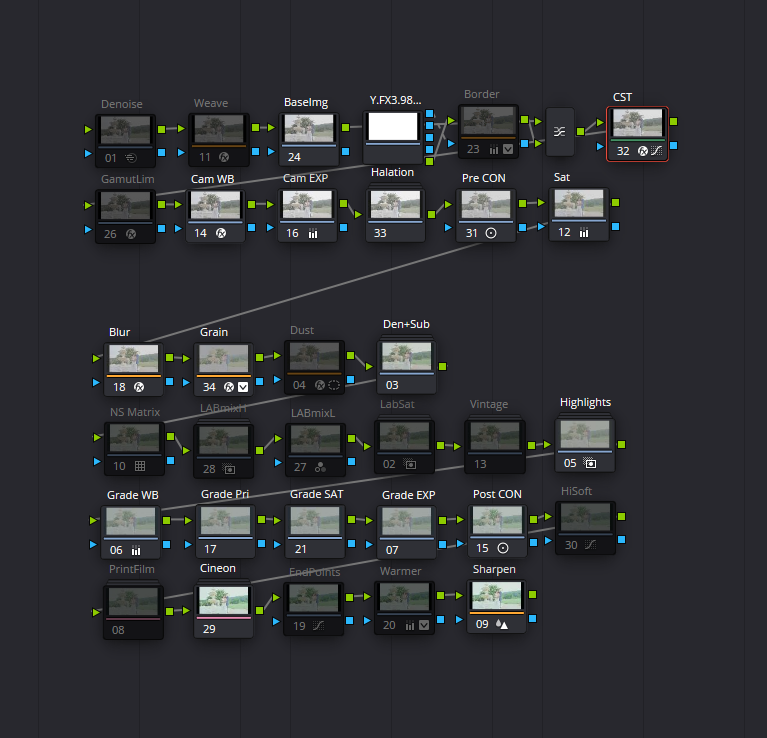
After years of working with DaVinci Resolve, we’ve developed a custom 7-node structure specifically for wedding films (this standard node setup is included in the base project price). It’s designed to adapt to different shooting styles, making it super flexible when clients have unique color preferences. Plus, it keeps the workflow logical and consistent, so making adjustments down the line is a breeze.
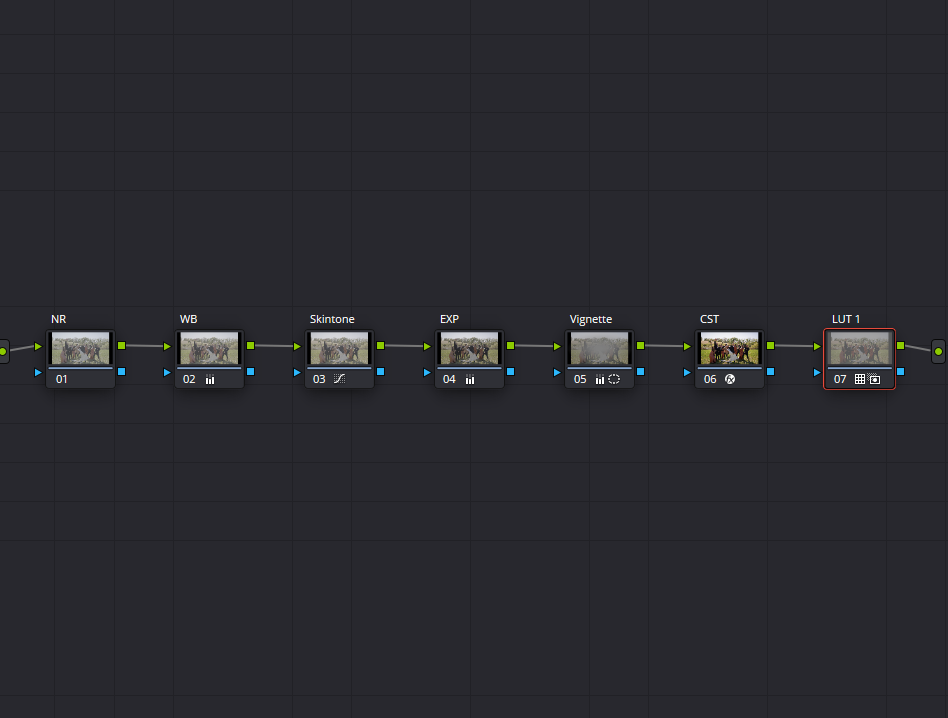
Here’s a breakdown of our 7-node base structure:
- NR (Noise Reduction) – Removes noise from the raw footage before any other changes are made.


- WB (White Balance) – Adjusts white balance as needed.


- Skin Tone – Corrects skin tones. If there are multiple people, we use parallel nodes, isolate skin tones with masks, and track them throughout the frame.

- EXP (Exposure) – Adjusts exposure and contrast, mainly using the Color Wheels.
- Vignette – Adds vignetting if needed. It’s essential to do this before converting to Rec.709 to preserve dynamic range. Sometimes, between “EXP” and “Vignette,” we add parallel nodes to modify local exposure – for example, darkening the background to keep focus on the subject using Magic Mask.

- CST (Color Space Transform) – Converts the log profile to Rec.709 using either the native DaVinci plugin or LUTs, depending on profile availability. This is done near the end of the process because log profiles preserve up to 15 stops of dynamic range – after Rec.709 conversion, you’re limited to about 7.
- LUT – Applies LUTs to stylize the image. If needed, we can use 2–3 LUT nodes to stack looks, depending on the creative direction.

When a film look is required, we use standard Resolve plugins like Film Look Creator, Halation, and Film Grain, placing them at the end of the node tree.

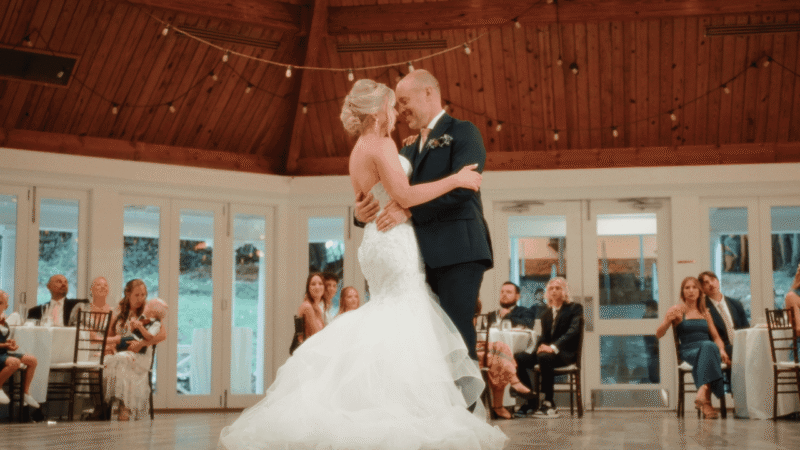
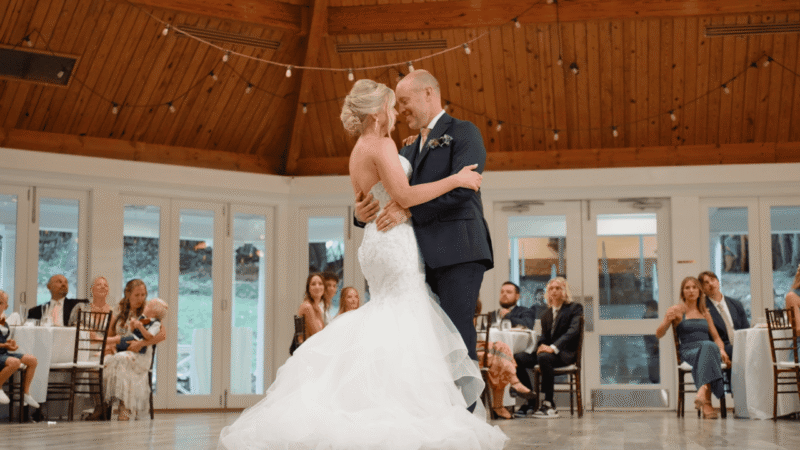
Below, you’ll see a hands-on look at how we apply color grading to real shots: “How We Color Grade a Frame.”
This type of structured color correction is something we can apply across all three programs – Premiere Pro, Final Cut Pro, and DaVinci Resolve – and it’s already included in the standard editing price. But when it comes to advanced color grading – creating custom looks, film-like aesthetics, or stylized tones – that’s an additional service. For that, we recommend DaVinci Resolve, as it’s the industry-standard tool built specifically for high-end grading work.
What Happens When We Use Custom Color Grading Setups?
Sometimes, clients come to us with their own detailed grading setups – 20-page guides, tons of nodes, custom LUTs, you name it. We totally respect that vision and always do our best to make it happen.
That said, it’s important to know that these custom workflows are pretty different from how we usually work. Our approach is streamlined and efficient, while more complex setups can take a bit more time and effort to get just right.
- Higher risk of error, especially when node order changes.
- Instructions may lack clarity or include steps that don’t scale well – e.g., a sample for one frame applied to a project with 300 shots.
- Software version mismatches – Clients might request edits in an older DaVinci Resolve version that lacks key features or plugins (e.g., Film Look Creator is only available in Resolve 19+).
- Scalability issues – A custom look may work in a daytime scene but fail in evening footage.
- No visual references – Without examples, it’s hard to confirm if we’re achieving the desired look.
- Different grading for different scenes – Some clients request different setups per scene, making workflow and quality control much more complex.
If you’re using third-party plugins that aren’t standard in Resolve, just send over the installation files and licenses ahead of time. We’ll make sure to integrate them into our workflow and follow your specific requests.
Because of these factors, custom grading can take 2x, 3x, or even 4x more time than our streamlined approach.
The final result? It often looks nearly identical to what we could achieve using our proven method.
Our System vs. Custom Workflow
| Item | Our Method | Custom Method |
| Quality | High | High |
| Speed | Fast | Slow |
| Cost | Included in editing price | Additional fee applies |
| Flexibility | Yes | No (strict client instructions) |
| Reliability | Tested in 5000+ projects | Depends on one individual |
Why We Recommend Our Structure
With a team of over 90 editors and more than 5,000 completed projects, we’ve nailed down a color grading process that’s fast, consistent, and delivers beautiful results every time. It saves time, budget, and energy – letting you focus on capturing amazing footage.
But hey, if you’ve got your own grading setup – whether it’s in Resolve, Premiere, or Final Cut – we’re totally on board. Just give us a heads-up so we can make sure everything lines up with timelines and pricing.
Curious how our color grading would look on your footage?
Reach out to Chris, our Client Onboarding Manager – he’ll help you place your first order and guide you through the next steps to get started. He’s here to make the process smooth and easy!