To kick off our discussion on the topic of audio, we’d like to quote the renowned Matt Johnson, who discussed the importance of audio at the Calibrate workshop organized by How to Film Weddings:
“Audio is how you tell the story in your wedding film. Without audio, your film is just a glorified music video with pretty imagery and a song. You need good spoken audio if you want your audience to engage with your film, to enjoy watching it.”
So, recording audio is a pivotal moment to ensure that your wedding film or highlight comes out beautifully, and good audio makes the final video editing process more efficient and produces superior results. Today, we won’t delve into the technicalities of recording audio. Instead, we’d like to discuss the subtleties of audio recording we frequently encounter during post-production.
Our audio recording recommendations for better post-production
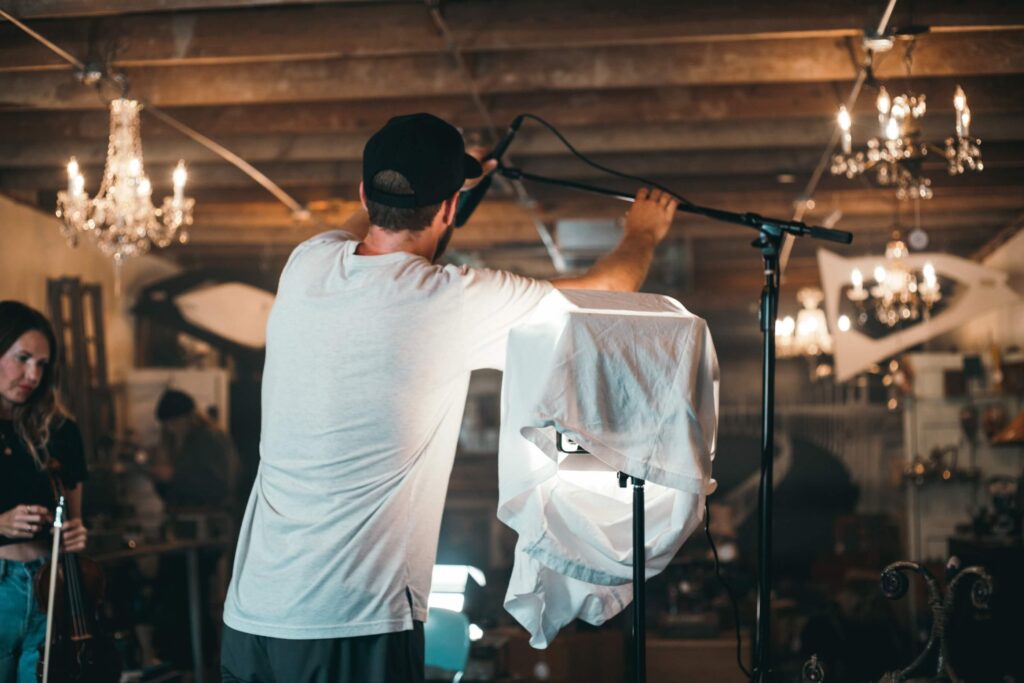
Audio recording can happen throughout the wedding day, but it’s most commonly done during events like Letter Readings, First Look, Ceremony, and Reception.
While you can record audio directly into the camera, it’s more challenging to control the audio than using a separate recorder. A reliable recorder offers the advantage of pre-processing audio with its own equalizer, compressor, limiter, and other features. Therefore, we strongly recommend using a dedicated recorder for the highest possible audio quality.
What recorders do we offer to use?
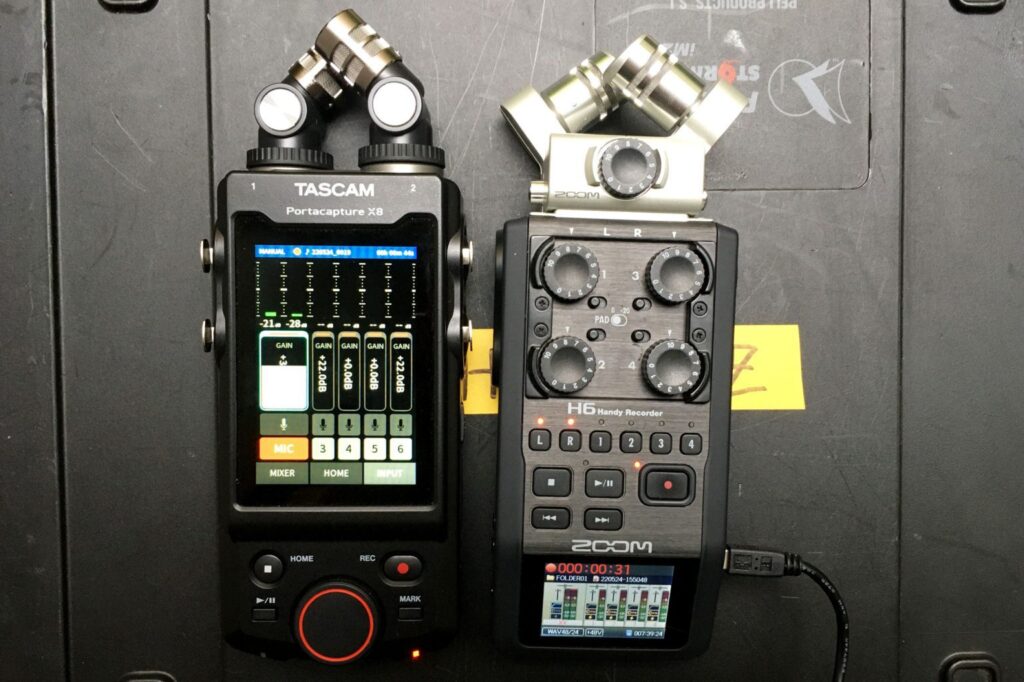
Let’s explore a few popular options. We won’t delve into a full recorder review. Instead, we’ll highlight some excellent choices without getting too detailed. Our recorder options include the Tascam X8, DR-40X, Zoom H5, and H6.
When recording the groom or the minister, you can affix a microphone using adhesive pads, allowing you to discreetly hide the microphone under the jacket, making it virtually invisible. Alternatively, if you don’t mind the microphone being visible, you can attach it closer to the mouth on the jacket.
An essential outdoor audio recording element is a Lavalier microphone windscreen. This ensures optimal audio quality and prevents wind noise from affecting the recording.
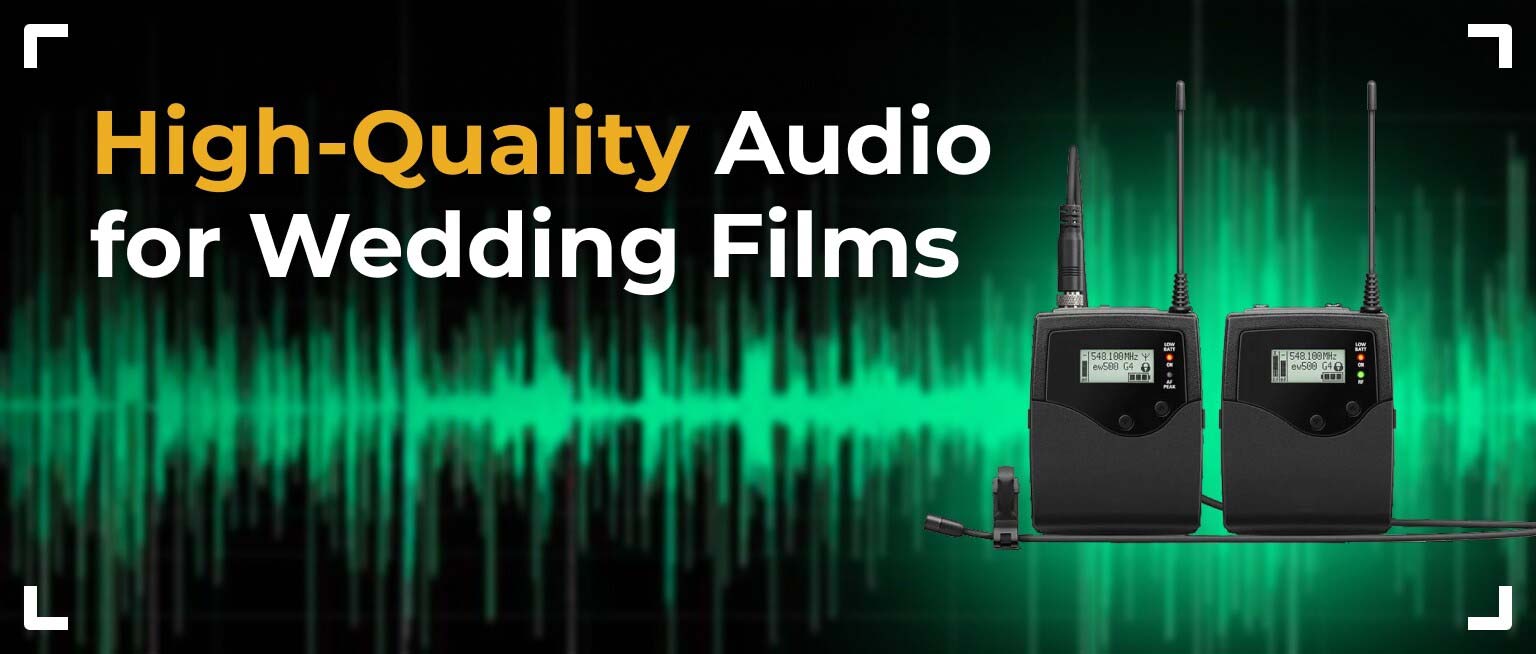
When capturing audio during weddings for the bride, groom, or minister, excellent options include wireless microphone systems like Rode Wireless GO, DJI Mic, Sennheiser G4 (or G3), Zoom F3, and others.
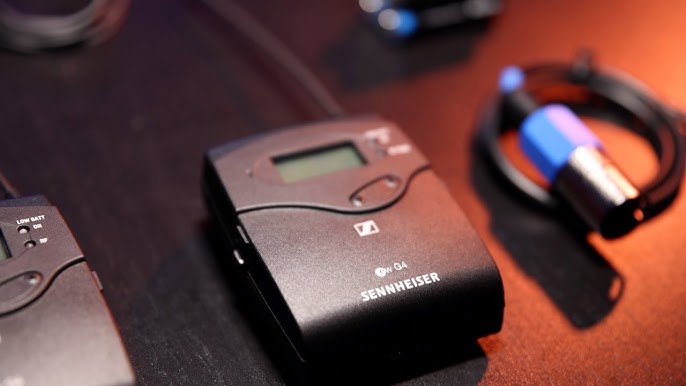
These systems are compact and easy to hide under the clothing of the groom or minister. It’s best not to place the receiver too far away to avoid audio signal interruptions when using wireless microphone systems. For instance, attaching the receiver to the camera closest to the speakers can be a wise choice.
Remember to closely monitor the audio recording during the ceremony to ensure that every moment is flawlessly captured. Here are some video tips from our friend Matt Johnson on how to set up the Zoom F3 to record fantastic audio.
What format is better for recording audio?
We highly recommend recording audio in 32-bit wav format for post-production, as it allows the editor to process the audio even if it was recorded at deficient levels (down to -25 dB) or extremely loud levels and your audio is overloaded, or distorted when the speaker speaks directly into the microphone (above 0 dB). You can choose a sampling rate of 44.1 kHz.
For instance, you can also create a Backup Track with a volume level set at -12 dB. However, when recording in 32-bit, the Backup Track may not be necessary at all.
Additionally, keep in mind that your recorder might come equipped with a built-in microphone. If you encounter issues with recording audio from the DJ console, you can activate the recorder’s microphone recording. This audio can creatively capture the audience’s reactions to jokes or touching moments during speeches or dances. Don’t hesitate to explore different possibilities while using the recorder’s microphone!
Additional equipment
When recording the Reception, an XLR cable is essential for its incredible audio quality, so make sure to bring it for the wedding shoot. You’ll need to connect the XLR cable to the DJ console, and naturally, the newer the DJ console, the better the recording quality (we’re talking about XLR to XLR cables here). If all the inputs on the DJ console are occupied, you can use the connection through the “TRS connectors,” also known as “Jack” (using an XLR to Jack cable). To be prepared for any challenges at the wedding, having an RCA cable as a backup is a good idea.
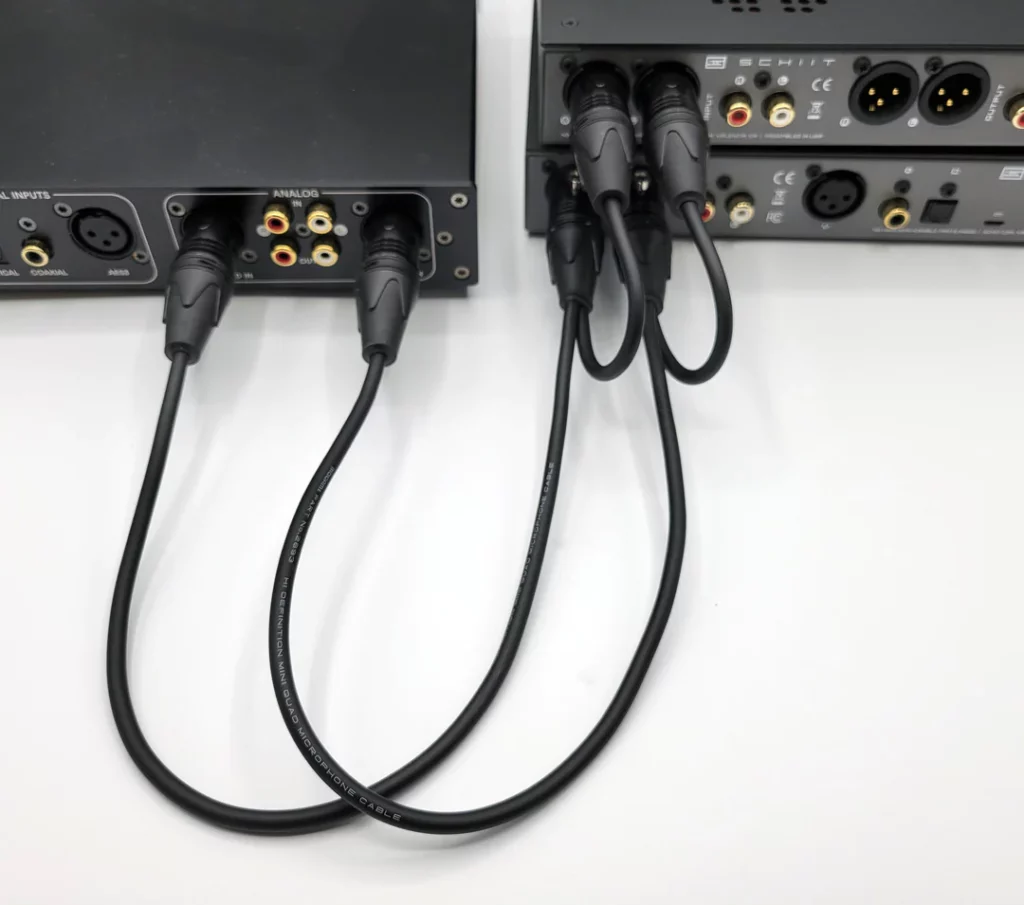
There’s a fantastic device called a Splitter; you can connect one XLR cable to the Splitter and then output two cables from the Splitter to the mixing console. This way, you can record the microphone, the DJ’s music, and more.
Finally, check out Matt’s new video about the essential audio gear needed for filming a wedding perfectly.
Final words
Don’t let poor audio ruin your beautiful wedding videos. Elevate the final quality of your films and leave a lasting impression on couples by following our recommendations.
Ready to impress your clients with professionally edited wedding videos? Partner with Bride&Groom.Video.
